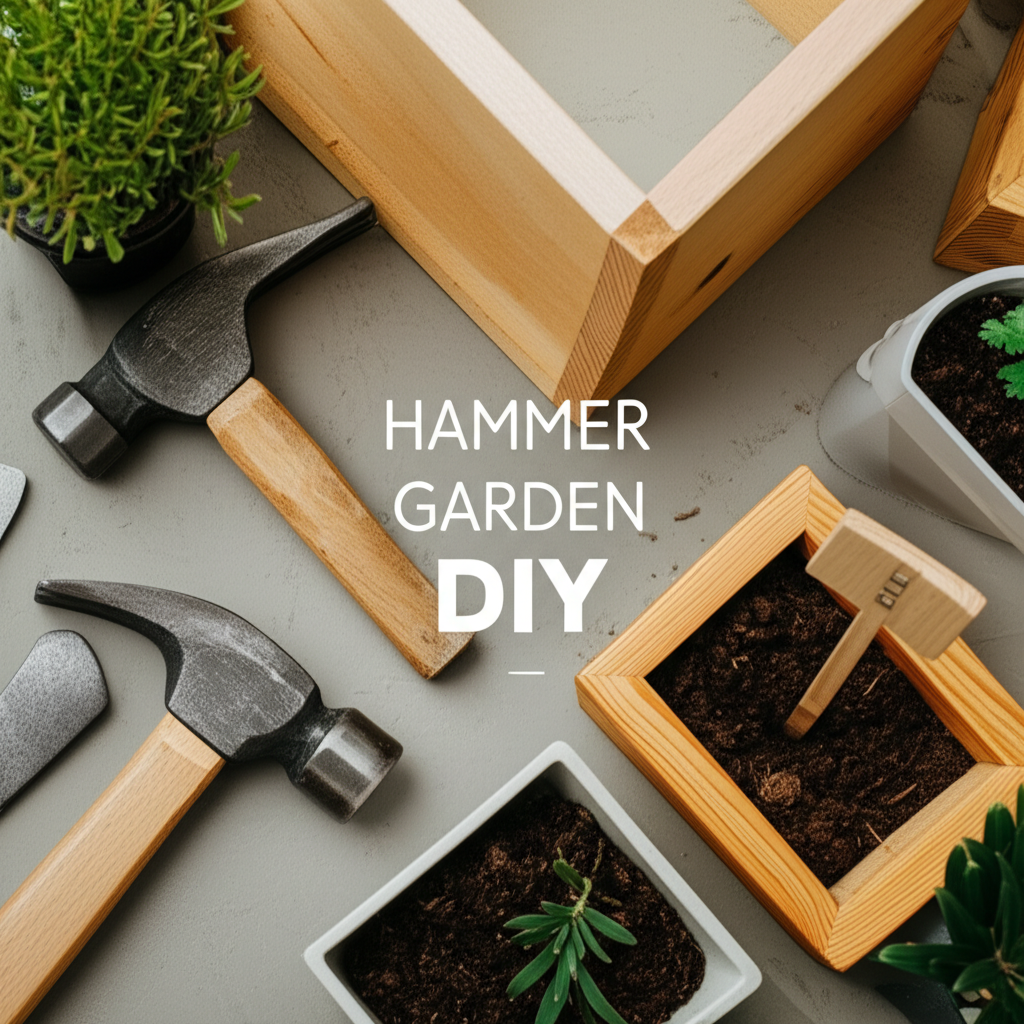
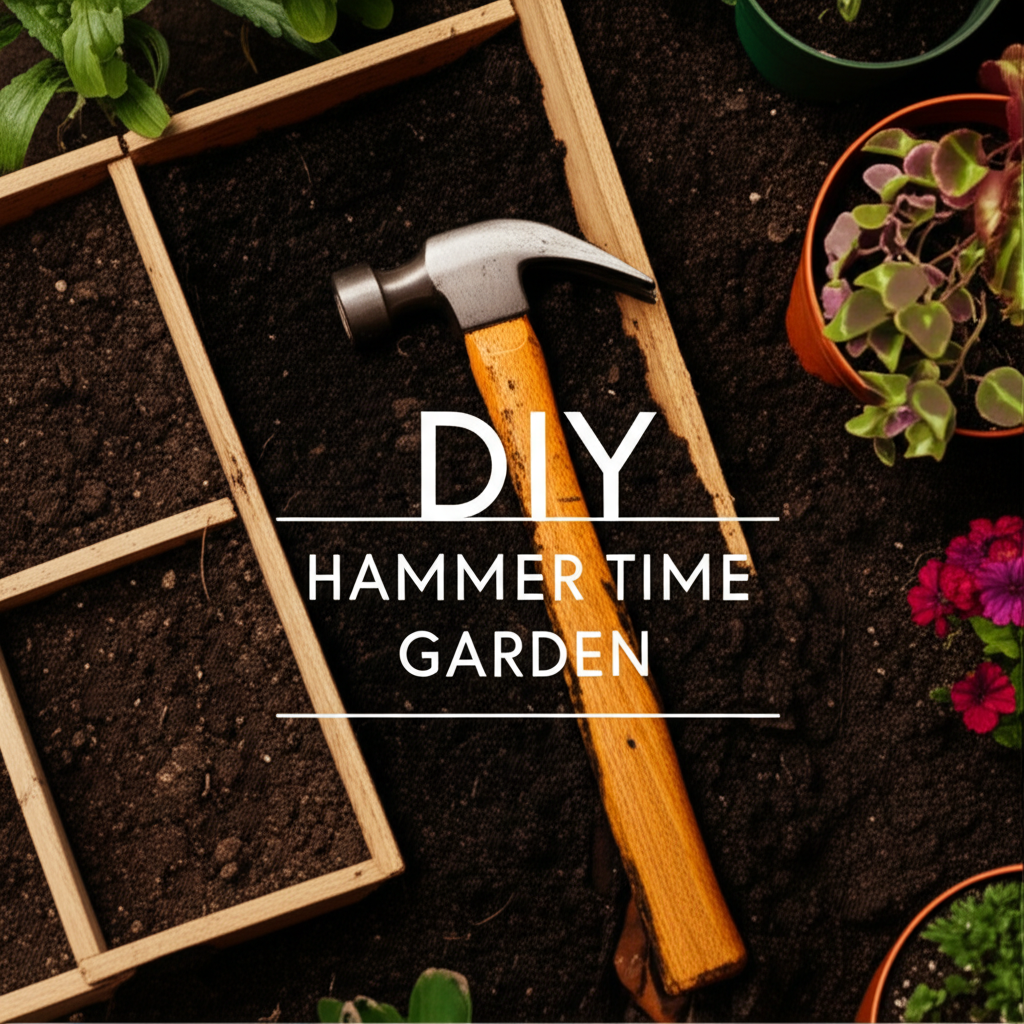
A hammer. It’s arguably the most fundamental tool in any DIYer’s arsenal. Beyond its brute force for driving nails, a hammer is a versatile companion for a surprising array of garden projects. From simple repairs to constructing charming features, the rhythmic tap-tap-tap of a hammer can transform your outdoor space. If you’re looking to get your hands dirty and add some personality to your garden, grab your hammer – it’s time to build!
Must-Have Tools in Your House If You Work Regularly


This guide will explore over ten fantastic DIY garden projects you can tackle with just a hammer (and a few other basic tools, of course!). We’ll cover everything from functional additions like raised beds and compost bins to decorative elements like birdhouses and trellises. Get ready to unleash your inner builder and create a garden you’ll be proud of.
Why a Hammer is Your Garden’s Best Friend
Before we dive into specific projects, let’s appreciate why the humble hammer is so indispensable for gardening. Its primary function, driving nails, is crucial for joining pieces of wood, creating sturdy structures, and making repairs. But its utility extends further:
- Assembly: Many garden structures, especially those made from wood, require assembly where nails are the primary fasteners.
- Repair: Fences, garden furniture, and even shed doors can often be repaired with a few well-placed nails and a hammer.
- Demolition (carefully!): Sometimes, you need to disassemble old structures to repurpose materials. A hammer, used judiciously with a pry bar, can help with this.
- Mallet Function: The flat head of a hammer can sometimes be used as a makeshift mallet for gently persuading pieces into place or for tapping in stakes.
Key Garden Projects You Can Build with a Hammer
Here’s a selection of rewarding DIY garden projects that put your hammer to work. We’ll start with the more functional and move towards the decorative.
1. Simple Wooden Raised Garden Bed
Raised garden beds offer numerous benefits, including improved drainage, better soil control, and easier access for planting and weeding. Building a basic one is surprisingly straightforward.
Materials:
- Untreated lumber (cedar or redwood are ideal for longevity)
- Deck screws or galvanized nails
- Corner brackets (optional, for added stability)
- Measuring tape
- Saw
- Drill (for pilot holes, recommended)
Steps:
- Cut your lumber: Decide on the dimensions of your bed (e.g., 4ft x 8ft) and cut your lumber accordingly. You’ll need two pieces for each length and two for each width.
- Assemble the first layer: Lay out two longer boards and two shorter boards to form a rectangle.
- Join the corners: Use nails or screws to join the corners. For extra strength, pre-drill pilot holes to prevent the wood from splitting. If using nails, angle them slightly for better hold.
- Build subsequent layers: Stack additional layers of boards on top of the first, securing them to the layer below with nails or screws, staggering the joints if possible for added strength.
- Optional bracing: For deeper beds, you might want to add bracing across the middle to prevent the sides from bowing outwards.
2. DIY Compost Bin
A compost bin is an essential garden feature for recycling organic waste and creating nutrient-rich soil. A simple bin can be constructed with minimal fuss.
Materials:
- Four sturdy posts (e.g., 4×4 lumber)
- Wooden slats or planks
- Galvanized nails or screws
- Wire mesh or hardware cloth (optional, for aeration and pest deterrence)
Steps:
- Set the posts: Drive the four posts into the ground to form a square or rectangular base. Ensure they are plumb and at the desired spacing.
- Attach the slats: Starting from the bottom, nail or screw the wooden slats horizontally to the posts, leaving small gaps between them for aeration.
- Continue upwards: Build up the sides, securing slats as you go. You can leave the front open or create a removable front panel for easier access to the compost.
- Add mesh (optional): If using wire mesh, staple it to the inside of the posts and slats to create a more contained bin and deter rodents.
3. Basic Wooden Trellis
Whether you’re growing climbing beans, tomatoes, or flowering vines, a trellis provides essential support.
Materials:
- Sturdy wooden stakes or posts
- Thin wooden laths or garden stakes
- Galvanized nails or screws
- Wire or strong twine (optional)
Steps:
- Install supports: Drive two sturdy stakes into the ground where you want your trellis to stand. Space them according to the desired width of your trellis.
- Create the framework: Nail or screw horizontal laths between the stakes, spaced a few inches apart.
- Add vertical support: Nail or screw vertical laths down the length of the trellis, creating a grid pattern for plants to climb.
- Optional wiring: For extra support or a different aesthetic, you can string wire or twine horizontally or diagonally across the trellis.
4. Birdhouse Construction
Attract feathered friends to your garden by building a simple birdhouse. This is a classic project where a hammer is invaluable.
Materials:
- Untreated softwood (pine or fir)
- Wood screws or galvanized nails
- Saw
- Drill with appropriate bit for entrance hole
- Sandpaper
Steps:
- Cut the pieces: You’ll need pieces for the front, back, two sides, bottom, and roof. Many free birdhouse plans are available online.
- Drill the entrance hole: Carefully drill the entrance hole in the front panel. The size depends on the birds you want to attract.
- Assemble the walls: Nail or screw the side panels to the front and back panels.
- Attach the bottom: Secure the bottom piece to the assembled walls. Ensure there are small drainage holes in the bottom.
- Add the roof: Attach the roof pieces, ensuring one overlaps the other slightly for water runoff.
- Sand and hang: Lightly sand any rough edges. Do not paint the inside; use non-toxic, exterior-grade paint or stain on the outside if desired.
5. Rustic Garden Bench
A simple bench can provide a comfortable spot to relax and enjoy your garden.
Materials:
- Sturdy lumber for legs and frame (e.g., 2x4s)
- Planks for the seat and backrest
- Deck screws or galvanized nails
- Measuring tape
- Saw
Steps:
- Build the frame: Construct a rectangular frame for the seat using 2x4s, joining the corners with screws or nails.
- Attach legs: Cut four equal lengths of 2×4 for the legs and attach them securely to the inside corners of the frame.
- Add seat slats: Nail or screw the seat planks across the top of the frame, leaving small gaps for drainage.
- Construct the backrest: Build a simple frame for the backrest and attach it to the back of the seat frame at an angle.
- Attach backrest slats: Nail or screw the backrest planks to the backrest frame.
Key Facts & Comparison: Common Garden Wood Types
When embarking on DIY garden projects, the type of wood you choose significantly impacts durability and cost. Here’s a quick comparison:
| Wood Type | Pros | Cons | Hammer-Related Considerations |
|---|---|---|---|
| Cedar | Naturally rot and insect resistant, lightweight, aromatic. | More expensive than pine, can be softer and prone to dents. | Nails and screws drive easily, but be mindful of over-driving into softer wood. |
| Redwood | Highly resistant to rot and insects, durable, beautiful color. | Very expensive, can be prone to warping if not properly seasoned. | Similar to cedar; drives nails and screws well but is a premium choice. |
| Pressure-Treated Pine | Affordable, highly resistant to rot and insects due to chemical treatment. | Contains chemicals (safe for garden use when certified), can be prone to warping or cracking as it dries. | Nails and screws can be harder to drive due to the wood’s density and treatment; pre-drilling is often recommended. Can also corrode fasteners over time, so use galvanized or stainless steel. |
| Fir/Spruce | Affordable, readily available, easy to work with. | Less resistant to rot and insects without treatment, can be prone to splitting. | Nails and screws drive very easily. Best for projects where longevity isn’t the primary concern or if using a protective finish. |
More Hammer-Friendly Garden Projects
The utility of a hammer extends beyond basic construction. Here are a few more ideas:
6. Simple Planter Box
Similar to a raised bed, a planter box is ideal for smaller spaces or for growing herbs and annuals.
Materials:
- Lumber for sides and bottom
- Galvanized nails or screws
- Optional: drainage holes drilled in the bottom
Steps:
- Cut pieces: Cut four equal lengths for the sides and two pieces for the bottom.
- Assemble sides: Nail or screw the side pieces together to form a box shape.
- Attach the bottom: Secure the bottom piece(s) to the base of the box. Ensure it fits snugly.
- Add drainage: If you haven’t already, drill a few drainage holes in the bottom.
7. Garden Signage
Create personalized signs for your plants or garden areas.
Materials:
- Wooden plank or weathered wood
- Smaller wooden stakes
- Galvanized nails or screws
- Paint or stencils
Steps:
- Prepare the sign board: Cut a piece of wood to your desired sign shape and size.
- Add lettering: Paint or stencil your chosen text onto the board.
- Attach to stake: Nail or screw a wooden stake to the back of the sign board.
- Install: Drive the stake into the ground in your garden.
8. Repairing Garden Fences
A loose or damaged fence panel can be quickly fixed with a hammer.
Materials:
- Replacement wood pieces (if needed)
- Galvanized nails or screws
- Hammer
Steps:
- Assess the damage: Identify loose boards or posts.
- Secure loose boards: If a board is loose, nail or screw it back into place against the fence post.
- Replace damaged sections: If a board is rotten or broken, carefully remove it and nail or screw a new piece of wood into position.
9. DIY Pea/Bean Support
A simple A-frame structure is excellent for supporting climbing plants.
Materials:
- Sturdy wooden stakes or poles (at least 4)
- Galvanized nails or screws
- Optional: Rope or twine for additional stability
Steps:
- Create the frame: Drive two stakes into the ground in an inverted V-shape. Repeat this process a few feet away.
- Connect the frames: Nail or screw horizontal poles or sturdy branches between the tops of the two V-frames to create the main support.
- Add cross supports: Nail or screw additional horizontal supports lower down to provide more stability and climbing opportunities for plants.
10. Simple Flower Pot Stand
Elevate your potted plants with a basic wooden stand.
Materials:
- Scrap wood pieces (e.g., 2x4s or thicker planks)
- Galvanized nails or screws
Steps:
- Cut pieces: Cut four equal lengths for the legs and two pieces for the top frame.
- Assemble the frame: Nail or screw the two top frame pieces together to create a square or rectangle.
- Attach legs: Nail or screw the legs to the inside corners of the frame. Ensure they are flush with the bottom of the frame.
- Add a top surface (optional): You can add a few more planks across the top for a more solid surface, or simply place pots directly onto the frame.
Table: Project Steps, Pros, and Cons (Hammer-Focused)
Here’s a look at the pros and cons of several projects, with a focus on the hammer’s role:
| Project | Key Hammer Steps | Pros | Cons |
|---|---|---|---|
| Raised Garden Bed | Nailing corners, securing layers, adding bracing. | Improved soil control, drainage, ergonomics. | Requires more lumber, can be heavy to move once built. Hammer work is constant assembly. |
| Compost Bin | Nailing slats to posts, securing mesh. | Recycles organic waste, creates rich soil, reduces landfill waste. | Can be visually unappealing if not designed well. Hammer use is repetitive but straightforward. |
| Birdhouse | Nailing walls together, attaching bottom and roof. | Attracts beneficial birds, educational for children, charming garden feature. | Requires precise cutting for a good fit. Hammer use requires care to avoid splitting small pieces. |
| Wooden Trellis | Nailing laths to stakes, creating grid pattern. | Supports climbing plants, adds vertical interest, can be customized. | May require regular checks for loose nails or structural integrity. Hammer work is crucial for stability. |
| Garden Bench | Nailing frame together, attaching legs, securing seat/back slats. | Provides seating, adds functionality and aesthetics. | Can be heavy. Hammer work needs to be strong for structural components. |
Tips for Using Your Hammer Safely and Effectively
- Wear safety glasses: Always protect your eyes from flying debris.
- Choose the right hammer: A claw hammer is versatile. For finer work or smaller projects, a smaller hammer might be better.
- Grip: Hold the hammer firmly but not rigidly, about two-thirds of the way down the handle for good leverage.
- Nail starter: For starting a nail, hold it with your fingers or use a nail holder to avoid hitting your fingers. Once the nail is started, remove your fingers.
- Swing: Use a smooth, controlled swing from your shoulder, not just your wrist.
- Angle: Angle your nails slightly away from the joining piece for a stronger hold, especially when nailing into end grain.
- Pilot holes: For hardwoods or when nailing near edges, pre-drilling pilot holes slightly smaller than the nail shank will prevent wood splitting.
- Listen: Pay attention to the sound. A dull thud means the nail is going in well. A sharp ping might mean it’s bending.
- Check for protruding nails: After hammering, ensure no nails are sticking out dangerously.
Conclusion
Your hammer is a powerful tool for transforming your garden. These projects are just a starting point, showcasing how a few simple constructions can enhance functionality, beauty, and your connection to your outdoor space. With a little planning, some basic materials, and the trusty tap of your hammer, you can create a garden that is both practical and personal. So, gather your supplies, put on your safety glasses, and get ready to build something wonderful!