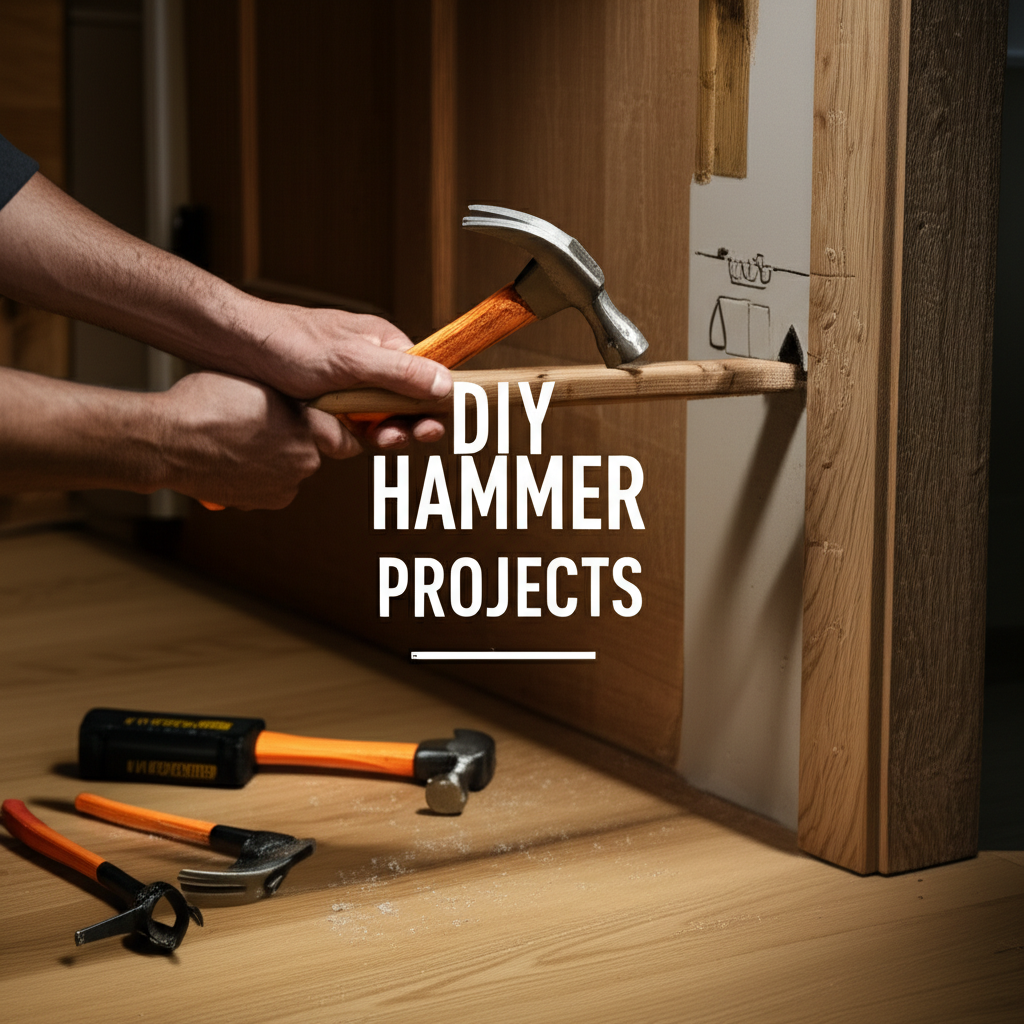
Unlocking the Power of Your Hammer: More Than Just a Nail Driver
The humble hammer. It’s a tool as old as civilization itself, yet its utility remains undiminished in the modern DIY enthusiast’s arsenal. Often relegated to the task of driving nails, this versatile implement is capable of far more. From simple fixes to more involved renovations, a well-chosen hammer and a bit of know-how can empower you to tackle a surprising array of home repair projects. This comprehensive guide will explore the diverse applications of your trusty hammer, transforming you from a passive homeowner into a confident DIYer. We’ll delve into the fundamental types of hammers, essential safety practices, and a range of practical projects you can accomplish with this indispensable tool.
Must-Have Tools in Your House If You Work Regularly


Choosing the Right Hammer for the Job
Not all hammers are created equal. Understanding the different types and their specific uses is the first step towards successful DIY projects.
Common Hammer Types and Their Applications
- Claw Hammer: The quintessential DIY hammer. Its primary function is driving nails with the flat face, while the curved claw is designed for prying and removing nails.
- Ball-Peen Hammer: Characterized by a rounded (peen) end opposite the flat face. Primarily used for shaping metal, riveting, and rounding off metal edges.
- Sledgehammer: A heavy-duty hammer with a large, flat head on both sides. Ideal for demolition, breaking concrete, driving stakes, and other forceful tasks.
- Mallet: Typically made of rubber, wood, or plastic, mallets are used when a softer impact is required to avoid damaging the work surface. Useful for assembling furniture or striking chisels.
- Tack Hammer: A lightweight hammer with a small head and a magnetic tip, designed for driving small tacks and finishing nails precisely.
- Drywall Hammer: Features a flat face for driving nails and a hatchet-like claw for cutting and trimming drywall.
Key Facts and Comparisons: Hammer Types
| Hammer Type | Primary Use | Head Material | Weight Range | Typical Handle Material |
| :————— | :———————————————- | :———————- | :—————- | :———————- |
| Claw Hammer | Nailing, prying, nail removal | Steel | 16-24 oz | Wood, Fiberglass, Steel |
| Ball-Peen Hammer | Metal shaping, riveting | Steel | 8-32 oz | Wood, Fiberglass |
| Sledgehammer | Demolition, driving stakes, heavy striking | Steel | 2-10 lbs | Wood, Fiberglass |
| Mallet | Gentle striking, assembling, striking chisels | Rubber, Wood, Plastic | Varies (light to medium) | Wood, Fiberglass |
| Tack Hammer | Driving small tacks, finishing nails | Steel | 4-8 oz | Wood, Fiberglass |
| Drywall Hammer | Drywall installation, cutting, nailing | Steel | 16-22 oz | Wood, Fiberglass |
Essential Safety First: Hammering Without Harm
Before you swing that hammer, prioritizing safety is paramount. A moment of carelessness can lead to serious injury.
Safety Gear and Techniques
- Eye Protection: Always wear safety glasses or goggles. Flying debris, whether it’s wood splinters, nail fragments, or metal shavings, can cause severe eye damage.
- Gloves: Work gloves can protect your hands from splinters, abrasions, and hammer impact.
- Footwear: Wear sturdy, closed-toe shoes, preferably steel-toed boots, to protect your feet from dropped tools or materials.
- Proper Stance: Stand with your feet shoulder-width apart, knees slightly bent, and your body balanced. This provides stability and control.
- Grip: Hold the hammer firmly but not rigidly. For most tasks, grip the handle towards the end for maximum leverage. For more delicate work, a closer grip offers greater control.
- Target Awareness: Ensure you know exactly what you are hitting. Avoid hitting anything other than your intended target, especially when working near electrical wires or plumbing.
- Clear Workspace: Keep your work area clean and free of clutter to prevent tripping hazards.
- Tool Condition: Regularly inspect your hammer for a secure head, a splinter-free handle, and no cracks or damage. A loose head or a damaged handle can lead to accidents.
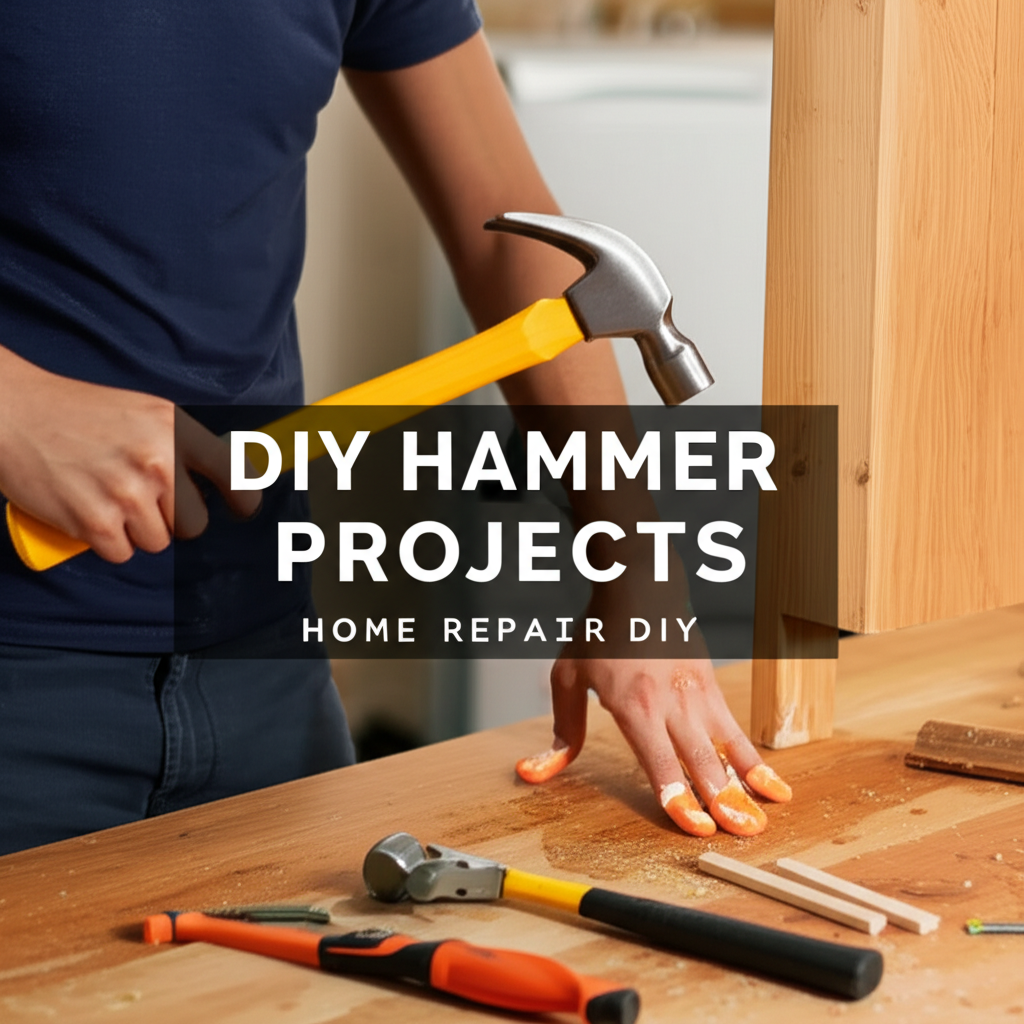
DIY Home Repair Projects Using Your Hammer
Now that you’re equipped with the right hammer and safety knowledge, let’s explore some practical projects you can tackle.
Project 1: Hanging Pictures and Shelves Securely
One of the most common uses for a claw hammer is hanging decor and shelving.
Steps to Hang a Picture
- Determine Placement: Decide where you want to hang your picture. Use a level to ensure it’s straight.
- Mark the Spot: Lightly mark the wall with a pencil where the nail or screw will go.
- Choose Fasteners: For lighter items, a finishing nail is sufficient. For heavier frames or shelves, consider using wall anchors and screws.
- Drive the Nail: Hold the nail against the marked spot. With a few light taps from the hammer, seat the nail firmly. Then, grip the nail head with your non-hammering hand (or use a nail holder for extra safety) and swing the hammer with a controlled motion to drive the nail straight in. Aim to leave about a quarter-inch of the nail exposed for hanging.
- Hang the Picture: Carefully hang your picture onto the nail.
Hanging Shelves
The process for shelves is similar but often requires more robust fasteners and potentially pilot holes, especially for heavier loads.
- Locate Studs: For significant weight, locate wall studs using a stud finder and drive screws directly into them.
- Use Wall Anchors: If studs aren’t available, use appropriate wall anchors (e.g., toggle bolts, screw-in anchors) for secure mounting.
- Pre-drill Holes: For screws, pre-drilling a pilot hole slightly smaller than the screw diameter will make driving them easier and prevent wood splitting.
Project 2: Minor Demolition and Deconstruction
The claw hammer is surprisingly effective for small demolition tasks.
Removing Baseboards
When replacing old baseboards or molding, your hammer can be a valuable tool.
- Score the Caulk: If the baseboard is caulked, run a utility knife along the top edge to break the seal.
- Pry Gently: Insert the claw of your hammer between the baseboard and the wall. Start at a corner.
- Leverage and Pull: Gently rock the hammer to create space. You might need to reposition the hammer multiple times along the length of the baseboard.
- Nail Removal: If nails are embedded, use the claw to lever them out. If they’re difficult, a nail puller or pliers might be necessary.
Removing Old Flooring (Small Areas)
For removing stubborn pieces of vinyl or linoleum, a hammer can help dislodge them.
- Lift an Edge: Use a putty knife or scraper to lift an edge of the flooring.
- Hammer Underneath: Once an edge is lifted, you might be able to gently tap the hammer underneath to help break the adhesive bond.
- Be Cautious: This is best for small, stubborn areas. For large-scale removal, consider specialized tools.
Project 3: Assembling Furniture and Fixtures
Many flat-pack furniture items come with dowels and fasteners that require gentle persuasion.
Using a Mallet or Hammer with a Protective Block
While a claw hammer can be used, it’s crucial to protect the material.
- Align Components: Ensure the pieces of furniture are correctly aligned for assembly.
- Gentle Tapping: For dowels or press-fit components, use a rubber mallet for a softer impact.
- Protect Surfaces: If using a claw hammer, place a scrap piece of wood (a “buffer block”) between the hammer face and the furniture piece to prevent dents and scratches.
- Tap Firmly: Strike the buffer block with controlled blows to seat the components firmly.
Project 4: Woodworking and Minor Repairs
From simple woodworking to repairing loose joints, a hammer plays a role.
Re-securing Loose Wood
If a piece of trim or furniture has come loose and nails have pulled out, you can often re-secure it.
- Align the Piece: Position the loose wood back into its original place.
- Reinforce with Nails: If the original nail holes are enlarged, you might need to use slightly larger nails or fill the holes with wood glue and toothpicks before driving new nails.
- Drive New Nails: Use your hammer to drive new nails, ensuring they go into the underlying support structure.
Minor Wood Shaping (Peening)
While not its primary use, a ball-peen hammer can be used for very light shaping of soft woods if absolutely necessary, though specialized wood carving tools are far more appropriate.
Project 5: Demolition Tasks with a Sledgehammer (Use with Extreme Caution)
For larger demolition jobs, a sledgehammer is your go-to.
Breaking Up Old Concrete or Masonry
This is a strenuous and potentially dangerous task.
- Safety First (Reiterated): Wear heavy-duty gloves, safety glasses, and steel-toed boots.
- Clear the Area: Ensure no one else is in the immediate vicinity.
- Controlled Swings: Stand with a stable stance and swing the sledgehammer with controlled, deliberate movements. Aim to strike the concrete in a consistent pattern.
- Work in Sections: Break down larger areas into smaller, manageable sections.
- Beware of Rebar: If breaking concrete with embedded rebar, be aware that the rebar can fly when struck.
Project 6: Driving Stakes and Posts
For garden projects or temporary fencing, a hammer is essential for driving stakes.
Setting Garden Stakes
- Clear the Area: Remove any rocks or debris from the stake’s intended location.
- Position the Stake: Place the stake vertically in the ground.
- Hammer Down: Use your claw hammer to drive the stake into the ground. Apply firm, even blows directly on top of the stake.
- Leveling: Periodically check that the stake is remaining as vertical as possible. If it starts to lean, adjust your hammer blows.
Pros and Cons of DIY Hammer Projects
Undertaking home repairs with a hammer offers significant advantages, but also comes with considerations.
Steps/Pros and Cons of DIY Hammer Projects
| Aspect | Details |
| :———- | :———————————————————————————————————————————————————————- |
| Pros | |
| Cost Savings | Eliminates the need to hire professionals for many simple tasks. |
| Empowerment | Builds confidence and self-reliance in maintaining your home. |
| Accessibility | Hammers are relatively inexpensive and widely available. |
| Versatility | Can be used for a wide range of tasks, from hanging pictures to minor demolition. |
| Skill Development | Provides an entry point for learning basic home repair skills. |
| Cons | |
| Risk of Injury | Improper use can lead to splinters, bruises, struck fingers, or eye injuries. |
| Property Damage | Incorrect technique can result in dents, scratches, or structural damage to walls and fixtures. |
| Time Investment | While seemingly simple, some tasks can take longer for a DIYer than for an experienced professional. |
| Tool Limitations | For complex or heavy-duty tasks, specialized power tools are often more efficient and safer. |
| Learning Curve | Mastering precise hammering technique takes practice. |
Beyond the Basics: Advanced Hammering Techniques and Considerations
As you gain confidence, you might explore more nuanced uses.
Setting Nails for a Flush Finish
To achieve a professional look, you’ll want to set your nails just below the surface of the wood.
- Drive the Nail: Drive the nail until the head is just about to touch the wood surface.
- Use a Nail Set: Place a nail set (a metal rod with a tapered end) onto the nail head.
- Strike the Nail Set: Use your hammer to strike the nail set firmly. This will drive the nail head slightly below the wood surface, allowing for putty or paint to conceal it.
- Avoid Over-Driving: Be careful not to hit too hard, as this can create a dimple or damage the wood.
Prying with Precision
The claw of a hammer is a lever. Understanding how to use it effectively is key.
- Use a Block: When prying anything significant, place a block of wood under the hammer’s claw to protect the surface you’re prying against.
- Leverage Points: Experiment with different leverage points to find the most effective way to dislodge stubborn nails or components.
Conclusion: Embrace the Hammer in Your DIY Journey
The hammer is more than just a tool; it’s a symbol of empowerment for the homeowner. By understanding its various forms, adhering to strict safety protocols, and practicing the techniques outlined in this guide, you can confidently tackle a wide array of home repair and improvement projects. From the satisfaction of hanging a perfectly straight picture to the more robust task of setting a garden post, your hammer is ready to assist. So, gather your courage, grab your hammer, and start building, fixing, and improving your home with pride. Happy hammering!
html
<h2>Key Facts & Comparison: DIY Home Repair Projects Using a Hammer</h2>
<table>
<thead>
<tr>
<th>Project</th>
<th>Difficulty</th>
<th>Approx. Time</th>
<th>Tools Needed (Beyond Hammer)</th>
<th>Materials</th>
<th>Primary Hammer Use</th>
</tr>
</thead>
<tbody>
<tr>
<td>Hanging a Picture Frame</td>
<td>Very Easy</td>
<td>5-15 minutes</td>
<td>Picture hook/nail, level (optional)</td>
<td>Picture frame, nail/hook</td>
<td>Nailing hook/nail</td>
</tr>
<tr>
<td>Repairing Loose Trim</td>
<td>Easy</td>
<td>15-30 minutes (per section)</td>
<td>Finishing nails, wood glue, putty knife, sandpaper</td>
<td>Trim piece, finishing nails, wood filler/putty</td>
<td>Nailing trim</td>
</tr>
<tr>
<td>Assembling Flat-Pack Furniture</td>
<td>Moderate</td>
<td>30-90 minutes</td>
<td>Screwdriver, Allen wrench, measuring tape</td>
<td>Furniture pieces, screws, dowels</td>
<td>Tapping dowels, gentle persuasion</td>
</tr>
<tr>
<td>Building a Simple Wooden Box</td>
<td>Moderate</td>
<td>1-2 hours</td>
<td>Saw, measuring tape, screws/nails, clamps (optional)</td>
<td>Wood planks, screws/nails</td>
<td>Nailing planks together</td>
</tr>
<tr>
<td>Minor Drywall Repair (nail pops)</td>
<td>Easy</td>
<td>20-40 minutes (per pop)</td>
<td>Putty knife, drywall compound, sandpaper</td>
<td>Drywall, drywall screws (if needed)</td>
<td>Setting new nail/screw head</td>
</tr>
</tbody>
</table>
<h2>Steps, Pros & Cons: DIY Home Repair Projects Using a Hammer</h2>
<h3>Hanging a Picture Frame</h3>
<table>
<thead>
<tr>
<th>Steps</th>
<th>Pros</th>
<th>Cons</th>
</tr>
</thead>
<tbody>
<tr>
<td>1. Determine desired height and location.</td>
<td>Quick and satisfying result.</td>
<td>Can misjudge height/levelness.</td>
</tr>
<tr>
<td>2. Mark the spot for the nail/hook.</td>
<td>Minimal tools required.</td>
<td>May require patching if mistakes are made.</td>
</tr>
<tr>
<td>3. Gently hammer the nail/hook into the wall.</td>
<td>Enhances home decor.</td>
<td>Risk of hitting electrical wires or pipes.</td>
</tr>
<tr>
<td>4. Hang the picture.</td>
<td>Very low cost.</td>
<td>Limited to hanging items, not structural repairs.</td>
</tr>
</tbody>
</table>
<h3>Repairing Loose Trim</h3>
<table>
<thead>
<tr>
<th>Steps</th>
<th>Pros</th>
<th>Cons</th>
</tr>
</thead>
<tbody>
<tr>
<td>1. Assess the loose trim and identify nails.</td>
<td>Restores a clean, finished look.</td>
<td>Requires careful nail placement to avoid splitting wood.</td>
</tr>
<tr>
<td>2. If necessary, remove old nails with a claw hammer.</td>
<td>Relatively inexpensive fix.</td>
<td>Potential for visible nail holes if not filled properly.</td>
</tr>
<tr>
<td>3. Apply wood glue to the back of the trim if needed.</td>
<td>Improves structural integrity of trim.</td>
<td>May require clamping for optimal adhesion.</td>
</tr>
<tr>
<td>4. Hammer new finishing nails through the trim into the stud.</td>
<td>Can be done with basic tools.</td>
<td>Damage to existing paint or wallpaper if not careful.</td>
</tr>
<tr>
<td>5. Fill nail holes with wood filler/putty and sand smooth.</td>
<td>Adds value and appearance to the room.</td>
<td>Time-consuming if multiple trim pieces are loose.</td>
</tr>
</tbody>
</table>