Introduction: The Timeless Appeal and Practicality of Nail-Down Hardwood Flooring
Hardwood floors have long been a staple in homes, celebrated for their natural beauty, durability, and the timeless warmth they bring to any living space. Among the various installation methods, the traditional nail-down technique remains a popular and robust choice, particularly for solid hardwood planks. While often associated with professional installers, understanding the fundamentals of hammering nails into hardwood floors can demystify the process for DIY enthusiasts and offer valuable insights for homeowners curious about their flooring. This article delves into the intricacies of this essential skill, covering everything from the tools required to the techniques that ensure a secure, aesthetically pleasing, and long-lasting floor.
Must-Have Tools in Your House If You Work Regularly


Understanding the Nail-Down Installation Process
The nail-down method involves physically securing each hardwood plank to the subfloor using specialized flooring nails. This creates a tightly knit and stable floor structure. Unlike floating floors or glued-down installations, nailing provides exceptional mechanical strength, making it ideal for solid hardwood, which expands and contracts with humidity.
Key Tools for Hammering Nails
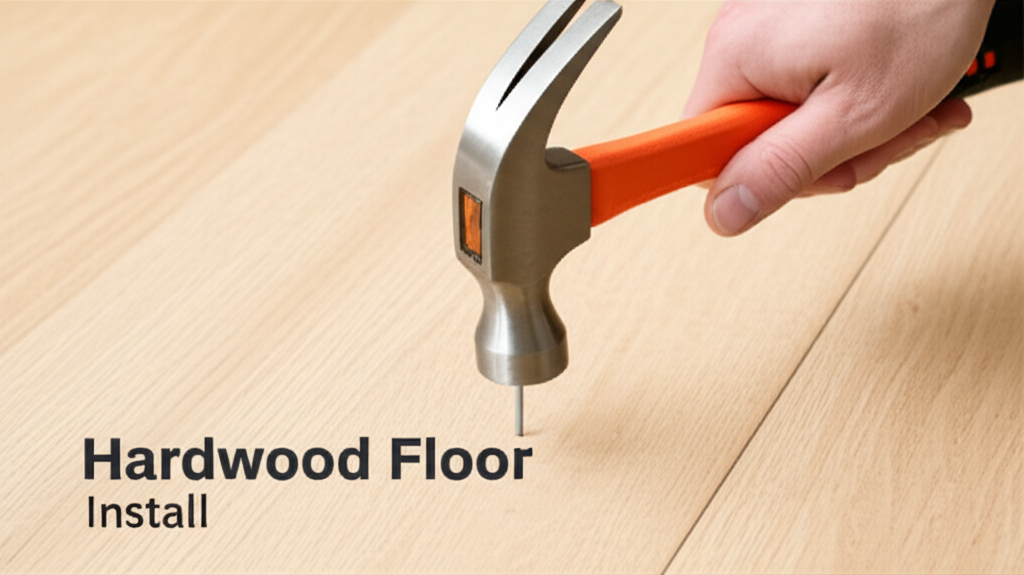
Successfully hammering nails into hardwood floors requires more than just a hammer. The right tools are crucial for efficiency, accuracy, and preventing damage to both the wood and yourself.
- Flooring Nailer: This is the primary tool. It’s a specialized pneumatic (air-powered) tool designed to drive flooring nails at the correct angle and depth. They come in various types, including manual-striking nailers (requiring a separate hammer to activate), pneumatic-driven nailers (powered by an air compressor), and even some electric models.
- Air Compressor (for pneumatic nailers): Provides the power to drive the nails.
- Air Hose: Connects the nailer to the compressor.
- Flooring Nails: These are specific L-shaped or T-shaped nails designed for flooring. They have a thin shank to minimize wood splitting and a barbed or serrated surface for better grip.
- Hammer: A solid, heavy hammer (often a dead-blow or a flooring hammer) is used with manual-striking nailers.
- Safety Glasses: Essential to protect your eyes from flying debris or nail fragments.
- Gloves: Provide a better grip and protect your hands.
- Knee Pads: For comfort and protection during prolonged kneeling.
- Chisel and Mallet: Useful for nudging planks into place or for manual nailing in tight spots.
- Measuring Tape and Pencil: For planning and marking nail placement.
The Mechanics of Driving a Flooring Nail
The technique for driving a nail into hardwood varies slightly depending on the type of nailer used, but the underlying principle is to embed the nail securely into both the hardwood plank and the subfloor without damaging the wood surface.
Manual Striking Nailers
For manual-striking nailers, the process involves:
- Positioning the nailer over the tongue of the hardwood plank, typically at a 30-45 degree angle. This angle is critical for holding the plank firmly to the subfloor.
- Striking the plunger on the nailer firmly with a hammer. This action drives the nail through the tongue and into the subfloor.
- Maintaining consistent force to ensure the nail is driven flush with the wood surface. Overdriving can crush the wood, while underdriving leaves the nail proud, creating a tripping hazard and preventing subsequent planks from fitting snugly.
Pneumatic Flooring Nailers
Pneumatic nailers automate much of the process:
- Connect the nailer to the air compressor and ensure the correct pressure is set.
- Place the nailer’s shoe firmly against the hardwood plank’s tongue, ensuring the nail will drive at the optimal angle.
- Pull the trigger (or depress the safety lever and trigger depending on the model). The compressed air drives the nail in a single, powerful action.
- The nail is driven flush, and the tool resets for the next nail.
Nail Placement: The Art of Precision
The placement of nails is as important as the driving technique. Incorrect placement can lead to split wood, loose boards, or an unsightly floor.
Spacing and Angle
- Spacing: Nails are typically spaced about 6-8 inches apart along the length of the plank.
- Edge Nailing: The first and last rows of planks are often face-nailed (driven directly through the face of the plank) because there’s no tongue or groove to nail into. These nails are driven at an angle into the subfloor, and the holes are subsequently filled with wood putty.
- Angle of Drive: As mentioned, nails are driven into the tongue of the plank at an angle of approximately 30-45 degrees. This “toe-nailing” action pulls the tongue firmly into the groove of the adjacent plank, creating a tight fit.
Dealing with Hardwood: Challenges and Solutions
Hardwood, by its nature, is dense and can present challenges when nailing.
Preventing Wood Splitting
Wood splitting is a common concern, especially with harder species of wood or when nailing too close to the edge of a plank.
- Pre-drilling: For very dense woods or when nailing near the ends of planks, pre-drilling pilot holes can be highly effective. The pilot hole should be slightly smaller than the diameter of the nail shank.
- Nailer Angle: Ensure the nailer is set at the correct angle to drive the nail through the strongest part of the tongue.
- Nail Quality: Use high-quality flooring nails designed for your specific wood type.
- Nailer Pressure: For pneumatic nailers, ensure the air pressure is set correctly. Too high pressure can drive the nail too deep and potentially split the wood, while too low pressure might not drive it sufficiently.
Nailing into Different Wood Species
The hardness of the wood directly impacts the nailing process.
| Wood Species | Janka Hardness (lbs) | Nailing Considerations |
|---|---|---|
| Pine (Eastern White) | 380 | Relatively soft, prone to denting. Use caution with nailer depth. |
| Oak (Red) | 1290 | Moderately hard, generally nails well. |
| Maple (Hard) | 1450 | Dense, requires careful nailing. Pre-drilling may be beneficial. |
| Hickory | 1820 | Very hard, significantly increases the risk of splitting. Pre-drilling is often essential. |
| Brazilian Cherry | 2350 | Extremely hard. Requires specialized pneumatic nailers and frequent pre-drilling. |
Troubleshooting Common Nailing Issues
Even with the right tools and techniques, problems can arise. Knowing how to address them ensures a professional finish.
Issues and Solutions
- Nail Not Driving Fully: This could be due to insufficient air pressure (pneumatic), an incorrect angle, or the nail hitting a knot or obstruction. Adjust pressure, reposition the nailer, or try pre-drilling.
- Nail Driving Too Deep (Overdriving): This crushes the wood fibers and can weaken the hold. If it’s slightly overdriven, you might be able to gently tap it flush with a nail set and hammer. If significantly overdriven, it might be best to remove the nail and plank and start again.
- Nail Not Driving Straight: Ensure the nailer is held perpendicular to the surface where the nail enters the tongue.
- Wood Splitting: As discussed, pre-drilling, adjusting nailer pressure, or using different nails can help. If a plank splits, it may need to be replaced.
- Loose Boards: This usually indicates nails are too far apart, improperly angled, or not driven deep enough. You may need to add more nails or carefully re-drive existing ones.
Nail-Down vs. Other Installation Methods: Pros and Cons
Understanding how nail-down installation compares to other common methods highlights its strengths and weaknesses.
| Installation Method | Pros | Cons |
|---|---|---|
| Nail-Down |
|
|
| Glue-Down |
|
|
| Floating Floor |
|
|
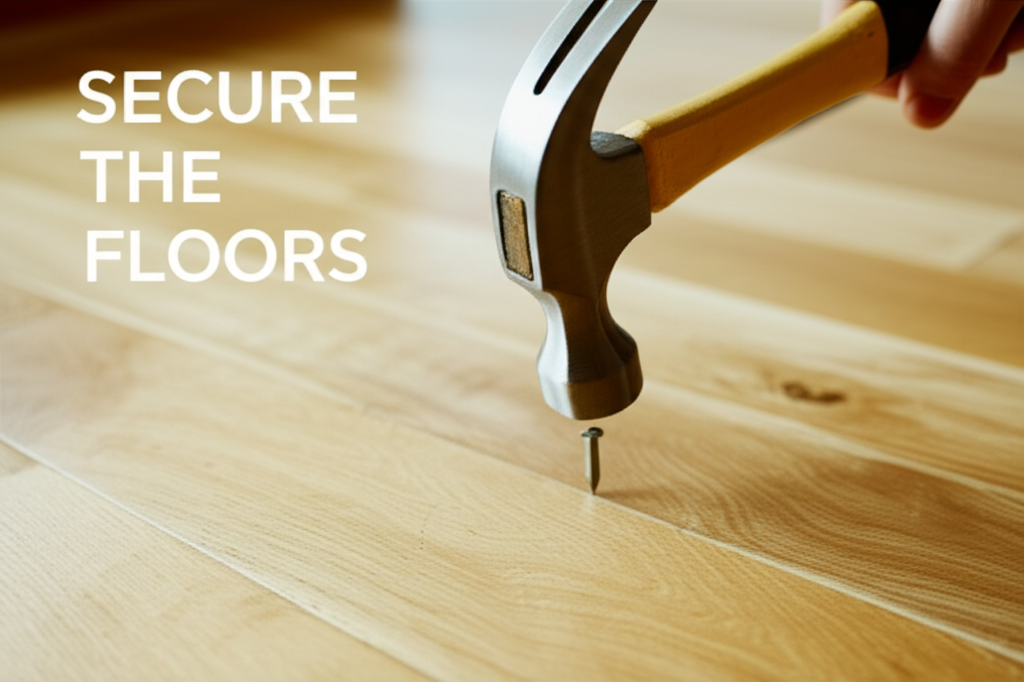
Finishing Touches: Securing the Floor
Once all the planks are nailed down, the final steps ensure a smooth and finished appearance.
Face Nailing and Filling
As mentioned, the first and last rows often require face-nailing. These nail heads will be visible on the surface of the floor.
- Use a nail set to drive the nail head slightly below the surface of the wood.
- The small holes created by face-nailing are then filled with a color-matched wood putty or filler.
- Once the putty is dry, it can be sanded flush with the floor surface, making the nails virtually invisible.
Conclusion: The Enduring Value of a Well-Nail-Down Floor
Hammering nails into hardwood floors is a skill that, when mastered, contributes significantly to the longevity and beauty of a wooden floor. The nail-down method, while requiring specific tools and careful technique, offers unparalleled stability and a traditional aesthetic that remains highly desirable. By understanding the tools, the proper angles, nail placement, and potential challenges, homeowners and DIYers can approach this task with confidence, ensuring their hardwood floors are not only a beautiful addition to their homes but also a solid, enduring investment.