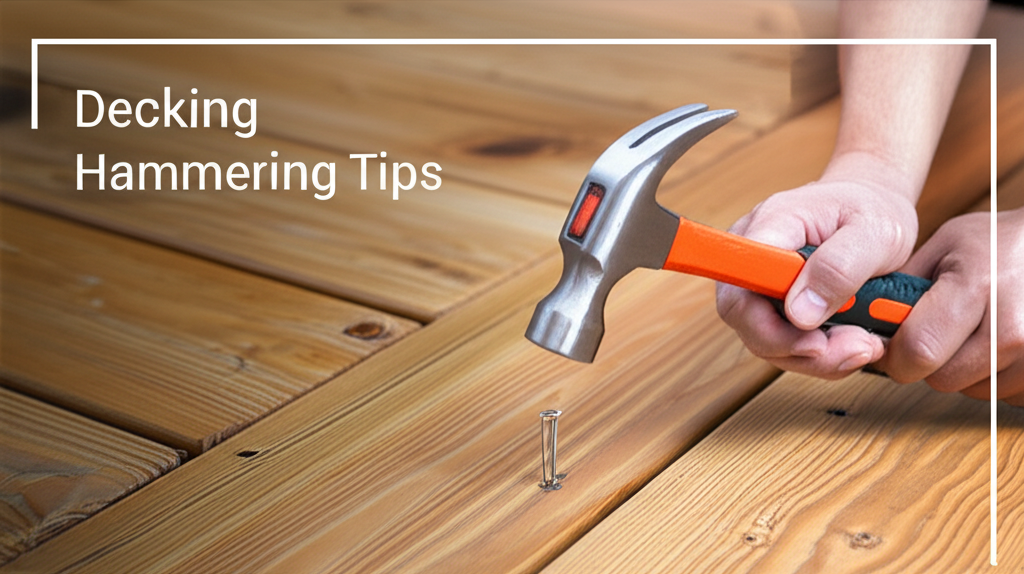
Introduction to Deck Construction and the Role of the Hammer
Building a deck is a rewarding project that significantly enhances your outdoor living space. At the heart of this construction endeavor lies a seemingly simple yet profoundly important tool: the hammer. While many associate hammering with basic nailing, effective deck construction demands a nuanced understanding of various hammering techniques. From driving fasteners securely to ensuring structural integrity, the hammer is your primary instrument. This guide will delve into the essential hammering techniques, covering everything from selecting the right hammer to advanced fastening methods, ensuring your deck is built to last and looks professional.
Must-Have Tools in Your House If You Work Regularly


Choosing the Right Hammer for Deck Construction
The type of hammer you use can dramatically impact your efficiency and the quality of your work. For deck construction, several types of hammers are commonly employed, each suited for specific tasks.
Claw Hammers
The most ubiquitous hammer, the claw hammer, is a versatile tool. Its primary function is driving nails, while the claw end is designed for extracting them.
- Weight: Hammers come in various weights, typically ranging from 16 to 28 ounces. For general deck framing and fastening, a 20-24 ounce hammer is often ideal, offering a good balance of power and control. Heavier hammers can drive larger nails more efficiently but require more strength.
- Head Shape: While most claw hammers have a curved claw, a straight claw hammer can be more effective for prying and demolition.
- Handle Material: Handles can be made from wood, fiberglass, or steel. Fiberglass and steel handles often offer better shock absorption and durability, which can reduce fatigue during long projects.
Demolition/Rip Hammers
These hammers are more robust than standard claw hammers and are often used for tasks requiring more force, such as prying apart boards or removing stubborn nails. They typically feature a heavier head and a longer handle.
Framing Hammers
Specifically designed for framing, these hammers are often heavier and have a larger striking face than standard claw hammers. Some framing hammers also feature a milled face (waffled pattern) that can help grip the nail head and prevent it from slipping.
Mallets
While not strictly hammers for driving nails, mallets (rubber, wood, or plastic) are crucial for tasks where you don’t want to mar the surface of the wood. They are ideal for tapping deck boards into place or adjusting components without damaging them.
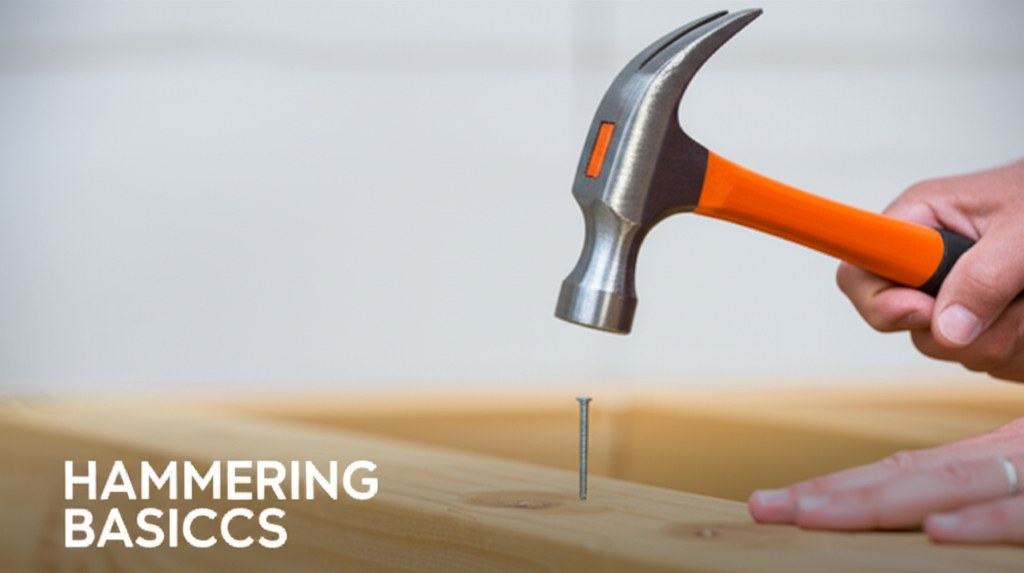
Key Hammering Techniques for Secure Fastening
Proper hammering is more than just hitting a nail. It involves precision, control, and an understanding of how to achieve a strong, flush connection.
Starting the Nail
The initial strike is crucial for setting the nail accurately and safely.
- One-Handed Start: For better control and safety, begin by holding the nail between your thumb and forefinger, placing its tip on the desired spot. Gently tap the nail head with the hammer to set it in place, allowing you to remove your fingers before continuing to drive it.
- Plumb and Perpendicular: Ensure the nail is driven straight and perpendicular to the surface of the wood. Angled nails can weaken the joint and are more prone to popping out over time.
Driving the Nail
Once the nail is started, the focus shifts to driving it home efficiently and securely.
- Full Swing, Controlled Impact: Use a smooth, full swing that originates from your shoulder and elbow, not just your wrist. This generates more power and reduces strain on your wrist. However, maintain control; the goal is to drive the nail, not to shatter the wood.
- Grip: Hold the hammer towards the end of the handle for maximum leverage and power. For more control, especially when starting nails or working in tight spaces, you can grip closer to the head.
- Striking the Nail Head: Aim to strike the center of the nail head squarely with the face of the hammer. Repeatedly striking off-center can bend the nail and damage the wood.
- Flush Finish: Drive the nail until the head is flush with the surface of the wood. Over-driving a nail can create a dimple in the wood, weakening the surrounding fibers. Under-driving leaves the head exposed, creating a snag hazard and compromising the connection.
Pulling Nails (Using the Claw)
Mistakes happen, and sometimes you need to remove a nail. The claw of the hammer is designed for this.
- Leverage: Slide the claw under the nail head. Position the hammer’s head against the wood surface to act as a fulcrum.
- Gentle Prying: Lift the handle gradually to pry the nail out. For stubborn nails, you might need to reposition the hammer or use a scrap piece of wood under the head to increase leverage and protect the deck surface.
- Safety: Ensure the nail is fully removed before proceeding to avoid tripping hazards or damage to subsequent work.
Advanced Hammering Techniques for Deck Building
Beyond basic nailing, several advanced techniques can enhance the durability and aesthetics of your deck.
Countersinking and Plugging
For a clean, finished look, especially on visible surfaces, countersinking nails and then covering the holes with wooden plugs is a common practice.
- Countersink Bit: Use a countersink bit in a drill to create a slight recess around the nail head. This allows the nail head to sit below the surface of the wood.
- Plugging: After driving the nail flush or slightly below the surface, apply wood glue into the countersunk hole and insert a wooden plug. Trim the plug flush with a Japanese pull saw or chisel.
Driving Screws with a Hammer (Improvised)
While not the intended use, in a pinch, a hammer can be used to drive screws. This is generally discouraged for structural integrity but can be a temporary fix.
- Gentle Taps: Place the screw in the hole and use very gentle, controlled taps with the hammer to start its rotation.
- Avoid Over-Striking: The primary risk is stripping the screw head or breaking the screw. This method is significantly less effective and less precise than using a drill.
Hammering Joist Hangers and Connectors
Many metal connectors used in deck construction require specific nailing patterns.
- Manufacturer Instructions: Always refer to the manufacturer’s instructions for the correct type and size of nails (often referred to as “hanger nails”) and the specified nailing pattern.
- Driving into Designated Holes: Ensure each nail is driven into its designated hole within the connector and straight into the joist or beam.
Troubleshooting Common Hammering Issues
Even experienced builders encounter challenges. Here’s how to address common problems:
Bent Nails
- Cause: Hitting the nail off-center, using too much force too early, or hitting a knot in the wood.
- Solution: Stop driving and carefully pull the bent nail out with the claw. If the hole is significantly damaged, you may need to use a slightly larger nail or fill the hole with wood epoxy before re-nailing.
Splitting Wood
- Cause: Driving nails too close to the edge of the board, using nails that are too large, or attempting to drive nails into dry, brittle wood without pre-drilling.
- Solution: For boards near the edge or where splitting is a risk, pre-drill a pilot hole slightly smaller than the nail’s diameter. If a split occurs, you can try to drive a nail on either side to hold the split together, or use wood glue and clamps to repair the split.
Hammer Bounce or Glancing Blows
- Cause: Using a worn-out hammer face, an improperly gripped hammer, or not focusing on the nail head.
- Solution: Ensure your hammer has a good grip and the striking face is in good condition. Keep your eyes focused on the nail head and maintain a consistent swing.
Safety First: Hammering Essentials
Safety should always be paramount when using a hammer.
- Eye Protection: Always wear safety glasses to protect your eyes from flying nail fragments or wood chips.
- Secure Footing: Ensure you have stable footing. Avoid overreaching, which can lead to loss of balance.
- Clear Workspace: Keep your work area free of debris that could cause trips or falls.
- Awareness of Surroundings: Be mindful of other people working nearby. Ensure your swing has a clear path.
- Proper Hammer Maintenance:** Regularly inspect your hammer for any damage to the head or handle. A damaged hammer can be dangerous.
Comparison of Hammering Techniques for Different Deck Components
The optimal hammering technique can vary depending on the deck component you are working on.
| Deck Component | Primary Fastener Type | Recommended Hammering Technique | Considerations |
| :——————– | :—————————————————– | :——————————————————————————————————————————– | :——————————————————————————————– |
| Framing (Joists/Beams) | 3-1/2″ to 3″ nails (common or ring shank) | Full swing, controlled impact, aiming for flush finish. Drive nails straight to ensure structural integrity. | Use heavier hammers for larger nails. Ensure nails are driven into the center of the lumber. |
| Deck Boards | 2-1/2″ or 3″ deck screws (often preferred) or nails | For nails: Aim for flush finish. Consider countersinking for a cleaner look. For screws (driven with a drill/driver, but a hammer might be used for initial setting): Gentle taps. | Avoid over-driving to prevent splitting or creating dimples. |
| Railings/Posts | 3″ to 4″ structural screws or lag bolts (requires pre-drilling) | For nails (if used): Similar to framing. For lag bolts: Use a hammer to tap the bolt initially if it’s tight, but primarily use a wrench or impact driver. | Structural integrity is critical. Ensure strong connections. |
| Ledger Board | Galvanized or stainless steel structural screws/lag bolts | Primarily driven with impact drivers or wrenches. Hammering is not the primary method for securing ledger boards. | Critical for attaching the deck to the house. Use approved hardware and techniques. |
| Joist Hangers | Specified joist hanger nails (e.g., 1-1/2″ galvanized) | Drive each nail straight and fully into the designated holes in the connector and the framing member. | Follow manufacturer’s nailing schedule precisely. Use correct nail type. |
Pros and Cons of Hammering vs. Power Drivers for Deck Construction
While this guide focuses on hammering, it’s important to acknowledge the role of modern power tools.
Hammering
| Pros | Cons |
| :——————————— | :——————————————————— |
| Cost-effective, simple to use | Slower than power tools |
| Good control for delicate tasks | Can be physically demanding, leading to fatigue |
| Excellent for starting fasteners | Higher risk of bent nails or damaged wood if not skilled |
| Useful for metal connectors | Less consistent results compared to power drivers |
| No reliance on power source | Can be noisy and create more impact vibration |
Power Drivers (Drill/Impact Driver)
| Pros | Cons |
| :———————————————– | :————————————————– |
| Much faster and more efficient | Higher initial cost |
| Creates consistent, secure fastenings | Requires power source (battery/outlet) |
| Less physical strain | Can strip screw heads or overdrive if not set correctly |
| Better for driving screws and lag bolts | Less precise control for starting small nails |
| Reduces risk of wood splitting with proper bit usage | Can be heavier and bulkier |
Conclusion: The Enduring Skill of Hammering in Deck Building
The hammer remains an indispensable tool in the deck builder’s arsenal. While power drivers have revolutionized many aspects of construction, the fundamental techniques of hammering are still vital for precision, control, and specific applications. By understanding the different types of hammers, mastering proper striking techniques, and prioritizing safety, you can ensure that every nail driven contributes to a strong, beautiful, and long-lasting deck. Whether you’re framing the main structure, fastening deck boards, or installing metal connectors, the skilled application of your hammer will be a testament to your craftsmanship. So, pick up your hammer with confidence, and build the deck of your dreams.
html
<h2>Hammering Techniques for Deck Construction: Key Facts/Comparison</h2>
<table>
  <thead>
    <tr>
      <th>Feature</th>
      <th>Claw Hammer</th>
      <th>Ball-Peen Hammer</th>
      <th>Sledgehammer</th>
      <th>Mallet (Rubber/Wood)</th>
    </tr>
  </thead>
  <tbody>
    <tr>
      <td>Primary Use</td>
      <td>Driving nails, pulling nails</td>
      <td>Shaping metal, striking chisels</td>
      <td>Demolition, driving stakes</td>
      <td>Setting decking boards, avoiding damage</td>
    </tr>
    <tr>
      <td>Head Shape</td>
      <td>Flat striking face, curved claw</td>
      <td>Flat striking face, rounded peen</td>
      <td>Large, flat, heavy head</td>
      <td>Large, flat face (rubber/wood)</td>
    </tr>
    <tr>
      <td>Weight</td>
      <td>Light to medium (16-28 oz)</td>
      <td>Medium (8-40 oz)</td>
      <td>Heavy (2-20 lbs)</td>
      <td>Medium to heavy</td>
    </tr>
    <tr>
      <td>Impact Force</td>
      <td>Moderate</td>
      <td>Moderate to high</td>
      <td>Very High</td>
      <td>Controlled, less forceful</td>
    </tr>
    <tr>
      <td>Material Striking</td>
      <td>Wood, nails</td>
      <td>Metal</td>
      <td>Concrete, wood (for demolition)</td>
      <td>Wood, composite, delicate surfaces</td>
    </tr>
    <tr>
      <td>Best for Decking</td>
      <td>Driving common deck screws/nails</td>
      <td>Not typically used</td>
      <td>Not typically used</td>
      <td>Gently tapping boards into place, setting joist hangers</td>
    </tr>
  </tbody>
</table>

<h2>Hammering Techniques for Deck Construction: Steps/Pros-Cons</h2>
<table>
  <thead>
    <tr>
      <th>Technique/Tool</th>
      <th>Steps</th>
      <th>Pros</th>
      <th>Cons</th>
    </tr>
  </thead>
  <tbody>
    <tr>
      <td><strong>Driving Deck Screws/Nails (Claw Hammer)</strong></td>
      <td>
        <ol>
          <li>Grip hammer firmly.</li>
          <li>Hold screw/nail at a 90-degree angle to the surface.</li>
          <li>Start with light taps to set the fastener.</li>
          <li>Increase force with smooth, controlled swings.</li>
          <li>Drive fastener until flush or slightly countersunk.</li>
        </ol>
      </td>
      <td>
        <ul>
          <li>Effective for standard fasteners.</li>
          <li>Claw allows for easy removal of misplaced fasteners.</li>
          <li>Widely available and familiar.</li>
        </ul>
      </td>
      <td>
        <ul>
          <li>Can damage wood if over-hammered.</li>
          <li>Requires practice for consistent depth.</li>
          <li>Screws are generally preferred over nails for decking.</li>
        </ul>
      </td>
    </tr>
    <tr>
      <td><strong>Setting Decking Boards (Mallet)</strong></td>
      <td>
        <ol>
          <li>Position the decking board against the joist.</li>
          <li>Lightly tap along the edge of the board with the mallet.</li>
          <li>Work from one end to the other, ensuring a snug fit.</li>
          <li>Use controlled, even blows.</li>
        </ol>
      </td>
      <td>
        <ul>
          <li>Minimizes damage to the decking material.</li>
          <li>Provides a secure, tight fit.</li>
          <li>Excellent for composite or delicate wood.</li>
        </ul>
      </td>
      <td>
        <ul>
          <li>Less effective for driving fasteners.</li>
          <li>Requires patience and careful application.</li>
          <li>Not suitable for heavy demolition.</li>
        </ul>
      </td>
    </tr>
  </tbody>
</table>