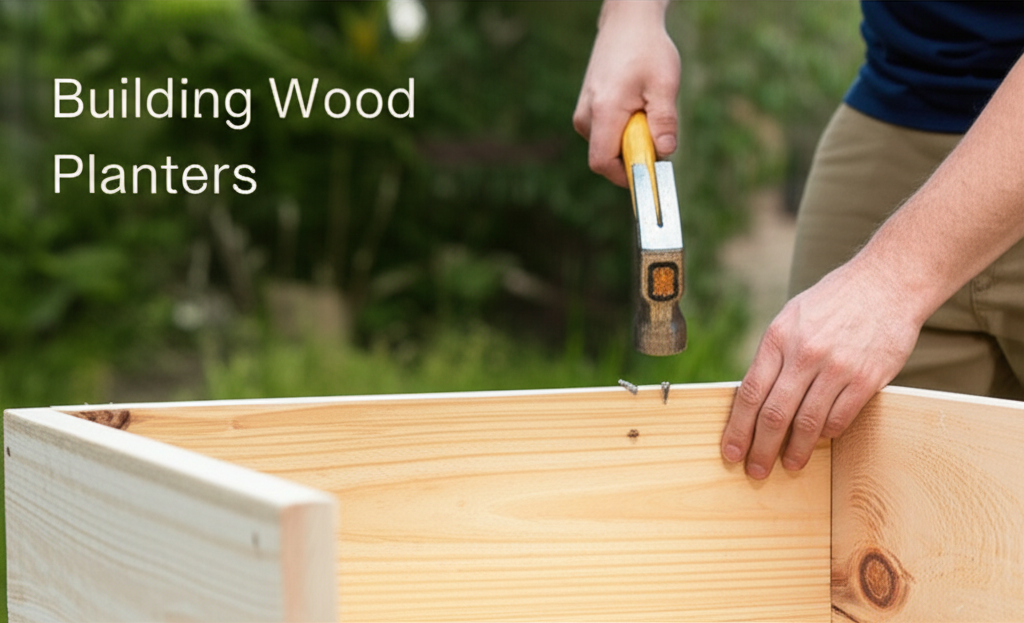
Introduction: Bringing Nature and Craftsmanship Together
Wooden planters are a timeless addition to any garden, offering a rustic charm and a natural aesthetic that synthetic materials simply cannot replicate. They provide an excellent environment for plant roots, allowing for natural aeration and drainage. While many planters are purchased, there’s a unique satisfaction and a deeper connection to your garden that comes from crafting them yourself. At the heart of woodworking, especially for projects like planters, lies the humble yet powerful hammer. This guide delves into the art and science of hammering wooden planters, transforming raw lumber into beautiful, functional containers that will house your beloved plants for seasons to come. We’ll explore everything from selecting the right wood and tools to the techniques that ensure durability and aesthetic appeal. Whether you’re a seasoned DIYer or a curious beginner, this comprehensive guide will equip you with the knowledge and confidence to embark on your planter-building journey.
Must-Have Tools in Your House If You Work Regularly


Why Choose Wooden Planters? The Enduring Appeal
Before we dive into the specifics of hammering, it’s essential to understand the inherent advantages of wooden planters. Their popularity isn’t just a fleeting trend; it’s rooted in a combination of aesthetic, functional, and environmental benefits.
Aesthetic Versatility
Wooden planters seamlessly blend with various garden styles, from the manicured elegance of a formal garden to the wilder embrace of a cottage garden. The natural grain and warmth of wood add an organic touch that complements the vibrant colors of your plants. Furthermore, wood can be stained, painted, or left to weather naturally, offering a customizable look to match your personal taste and garden’s theme.
Environmental Friendliness
Compared to plastic or metal alternatives, wood is a renewable resource. When sourced sustainably, wooden planters are an environmentally conscious choice. As they age, they eventually biodegrade, returning to the earth without leaving a lasting environmental footprint.
Durability and Longevity (with proper care)
While wood is susceptible to rot and insect damage, proper construction and treatment can significantly extend the lifespan of your planters. Choosing rot-resistant woods and employing sound woodworking practices are key to creating planters that will last for many years.
Plant Health Benefits
Wood is a breathable material, allowing for natural air circulation around the plant’s roots. This prevents the soil from becoming waterlogged and promotes healthy root development. Unlike some plastics, wood doesn’t leach chemicals into the soil, providing a healthier environment for your plants.
The Hammer: More Than Just a Striking Tool
The hammer is the workhorse of many woodworking projects, and planter construction is no exception. Its primary function is to drive fasteners, but its versatility extends to shaping, assembling, and even minor repairs. Understanding the different types of hammers and their specific uses is crucial for efficient and effective work.
Types of Hammers for Planter Projects
When embarking on planter construction, you’ll likely encounter a few key hammer types:
- Claw Hammer: This is the most common type of hammer. It features a flat striking face on one side and a V-shaped claw on the other, used for prying out nails. For planter assembly, the striking face is used to drive nails or brads.
- Ball-Peen Hammer: While less common for basic planter assembly, the rounded end (peen) can be useful for peening or shaping metal components if you’re incorporating them into your design.
- Mallet (Rubber or Wooden): Not strictly a hammer, but essential for gently persuading pieces into place without damaging the wood. This is invaluable when assembling delicate joints or fitting pieces tightly.
Key Features to Consider in a Hammer
The “best” hammer depends on the task, but for general planter work, consider these features:
- Weight: A balanced weight allows for comfortable and controlled swings. Too heavy, and you’ll fatigue quickly; too light, and you’ll lack driving power.
- Grip: A comfortable, non-slip grip is essential for safety and accuracy.
- Head Material: Steel is the standard for durability.
- Claw Type (for claw hammers): Straight claws are better for prying and demolition, while curved claws are more effective for nail removal in woodworking.
Selecting the Right Wood for Your Planters
The wood you choose will significantly impact the longevity, appearance, and cost of your wooden planters. For outdoor use, durability against moisture, rot, and insects is paramount.
Naturally Rot-Resistant Woods
These woods possess natural oils and compounds that make them inherently resistant to decay.
- Cedar: A popular choice for outdoor projects due to its aromatic properties and excellent resistance to rot and insects. It weathers to a beautiful silvery-gray.
- Redwood: Similar to cedar in its durability and resistance, redwood also offers a rich, warm color.
- Cypress: Another excellent option known for its longevity and resistance to moisture and decay.
- Teak: While often more expensive, teak is exceptionally durable and resistant to the elements, making it a premium choice.
Pressure-Treated Lumber
This lumber has been chemically treated to resist rot, decay, and insect infestation. It’s a cost-effective and durable option, but it’s essential to ensure it’s rated for ground contact if your planter will sit directly on soil. Note: Some gardeners prefer to avoid pressure-treated wood due to concerns about chemical leaching, though modern treatments are generally considered safe.
Other Wood Options (with caveats)
- Pine/Fir: These are more affordable and widely available but are less resistant to rot. If using these, thorough sealing and regular maintenance are crucial.
- Oak: While strong, oak can be susceptible to rot if not properly sealed and maintained.
Essential Tools and Materials for Hammering Planters
Beyond the hammer, several other tools and materials will facilitate a smooth and successful planter-building process.
Essential Tools
- Measuring Tape: For accurate measurements of your lumber.
- Pencil: For marking cut lines and assembly points.
- Saw (Hand Saw or Power Saw): To cut lumber to size. A miter saw or circular saw will make this process faster and more precise.
- Drill and Drill Bits: For pre-drilling pilot holes, which prevents wood splitting, especially when hammering near edges.
- Screwdriver Bits (or Screwdriver): If you opt for screws over nails.
- Safety Glasses: Non-negotiable for protecting your eyes from flying debris.
- Work Gloves: To protect your hands and improve grip.
- Clamps: To hold pieces securely in place while you fasten them.
- Sandpaper (various grits): For smoothing rough edges and surfaces.
Fasteners
- Galvanized or Stainless Steel Nails: These resist rust and corrosion, which is crucial for outdoor projects. Choose the appropriate length for the thickness of your wood.
- Galvanized or Stainless Steel Screws: Screws offer superior holding power and are often preferred for their ability to withstand expansion and contraction of the wood. Pre-drilling is always recommended.
Finishing Materials (Optional but Recommended)
- Wood Sealer/Stain: To protect the wood from moisture and UV rays, and to enhance its appearance.
- Paint: For a decorative finish.
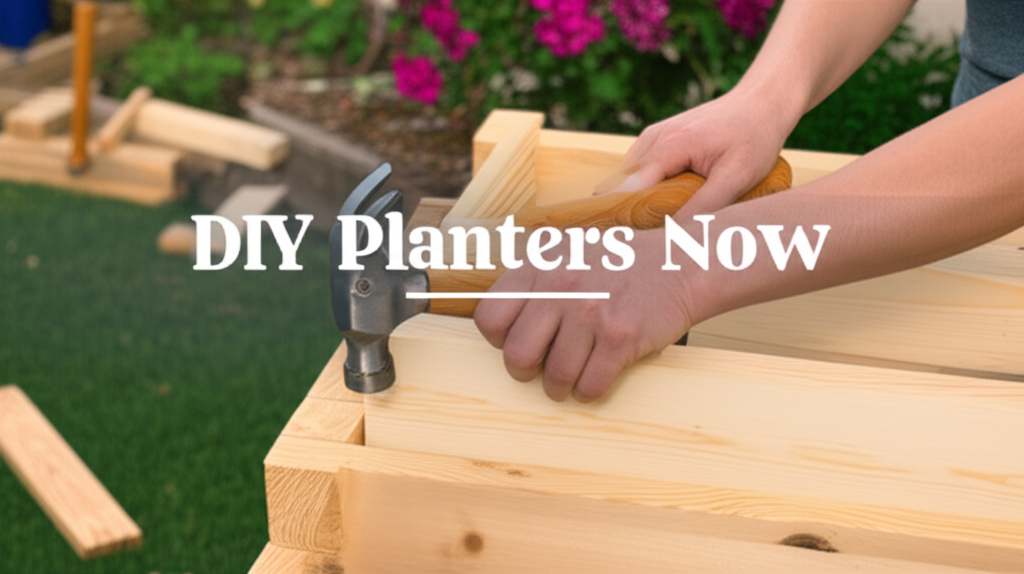
The Hammering Process: Step-by-Step Assembly
Building a wooden planter involves careful measurement, cutting, and assembly. The hammering technique is key to strong and aesthetically pleasing joints.
Step 1: Planning and Design
Before you pick up a hammer, finalize your planter’s dimensions and design. Consider the size and type of plants you intend to grow. Sketching out your plan will help you visualize the cuts and assembly sequence.
Step 2: Measuring and Cutting Lumber
Accurately measure and mark your lumber according to your design. Use a square to ensure your lines are precise. Cut the pieces cleanly.
Step 3: Pre-Drilling Pilot Holes
This is a critical step to prevent wood splitting. Using a drill bit slightly smaller than the diameter of your nails or screws, drill pilot holes through the first piece of wood and into the second piece where the fastener will go.
Step 4: Assembling the Base and Sides
For a basic rectangular planter, start by assembling the four sides.
- Place two side pieces perpendicular to each other.
- Align the edges where they will be joined.
- Hold them firmly in place, or use clamps.
- Using your hammer, drive nails (or screws) through the pilot holes into the adjoining piece. Aim for a straight strike to embed the fastener flush with the surface or slightly below.
- Repeat this process for all four sides to form a box.
Hammering Technique for Nails:
- Hold the nail between your thumb and forefinger, positioning it at the pilot hole.
- Give the nail a gentle tap to set it in place.
- Remove your fingers.
- Grip the hammer firmly but not rigidly, and swing from your elbow and shoulder, not just your wrist.
- Aim for the center of the nail head.
- Drive the nail with firm, controlled blows until it is fully seated.
- If a nail bends, carefully extract it with the claw of your hammer and start a new one.
Step 5: Attaching the Bottom
Once the sides are assembled, attach the bottom piece.
- Flip the assembled sides upside down.
- Position the bottom piece, ensuring it fits snugly.
- Pre-drill pilot holes through the bottom piece into the sides (or vice versa, depending on your design).
- Hammer or screw the bottom securely into place, ensuring even fastening around the perimeter.
Step 6: Reinforcing and Finishing
Consider adding corner braces or internal supports for extra rigidity, especially for larger planters. Sand down any rough edges or splinters. Apply your chosen wood sealer, stain, or paint to protect the wood and enhance its appearance.
Key Considerations for Durability and Aesthetics
Building a planter that not only looks good but also lasts requires attention to detail during the hammering and assembly stages.
Fastener Placement and Type
- Even Spacing: Distribute your nails or screws evenly along the joint for maximum strength.
- Nail vs. Screw: While nails are faster, screws provide superior holding power and are less likely to loosen over time due to wood expansion and contraction.
- Depth: Drive fasteners deep enough for a secure hold, but avoid over-driving, which can split the wood.
Joint Strength
The way pieces are joined significantly impacts the planter’s overall strength.
- Butt Joints: Simple and common, where the end of one board meets the face of another. Pre-drilling and strong fasteners are essential.
- Miter Joints: Angled cuts (usually 45 degrees) create a clean, mitered corner. These require precise cuts for a good fit.
- Lap Joints: Where one piece overlaps another. These are inherently strong but require more material.
Protecting Your Hammered Work
- Countersinking: For a cleaner look, you can use a countersink bit to create a small recess for the nail or screw head, allowing it to sit flush or slightly below the surface.
- Wood Filler: Minor gaps or imperfections can be filled with wood filler for a smoother finish before painting or staining.
Table 1: Key Facts and Comparison of Fasteners
Here’s a look at common fasteners used in planter construction:
| Fastener Type | Advantages | Disadvantages | Best Use in Planters |
|---|---|---|---|
| Galvanized Nails | Fast to install, cost-effective | Can loosen over time, prone to bending | Basic assembly where speed is a factor |
| Stainless Steel Nails | Excellent rust resistance, good holding power | More expensive than galvanized | All exterior joints, especially in damp climates |
| Galvanized Screws | Superior holding power, less likely to loosen, drives cleaner | Requires pre-drilling, slightly slower than nails | Primary fasteners for structural joints, bottom attachment |
| Stainless Steel Screws | Ultimate rust resistance, exceptional holding power | Most expensive option, requires pre-drilling | High-moisture environments, premium planters |
Table 2: Hammering Planters – Pros, Cons, and Essential Steps
This table summarizes the benefits, drawbacks, and core actions involved in hammering wooden planters.
| Aspect | Details |
|---|---|
| Pros of Hammering for Planters |
|
| Cons of Hammering for Planters |
|
| Essential Steps to Remember |
|
Troubleshooting Common Hammering Issues
Even with careful planning, you might encounter a few snags. Here’s how to address them:
Bent Nails
If a nail bends during driving, don’t force it. Gently rock the hammer back on its claw to lift the nail, or use a nail puller for stubborn ones. Then, start a new nail, ensuring your strike is perpendicular.
Wood Splitting
This is usually due to a lack of pilot holes or driving a fastener too close to the edge. If minor splitting occurs, wood glue and a well-placed clamp can often repair it. For more significant splits, you might need to replace the piece.
Damaged Wood Surface
If the hammer head slips and gouges the wood, you can often sand the area smooth. For a more cosmetic fix, consider using wood filler.
Loose Joints
Ensure all fasteners are driven securely. If a joint feels loose after assembly, consider adding extra fasteners or reinforcing with small metal brackets or wooden corner blocks.
Beyond the Basics: Advanced Techniques and Designs
Once you’ve mastered the fundamentals, you can explore more intricate designs and techniques.
Decorative Hammering (Optional)
While not common for functional planters, some artists use specific hammers or specialized tools to create decorative textures on the wood. This is more of an artistic embellishment than a structural necessity.
Reinforcing Corners
For larger or heavier planters, consider adding internal corner blocks that are glued and screwed into place. This significantly strengthens the planter’s structure.
Different Joint Types
Experiment with more complex joinery like dado joints or rabbet joints for increased strength and a more professional finish. These often involve more precise cuts and different hammering approaches.
Conclusion: The Rewarding Journey of Crafting
Hammering wooden planters is a process that combines practical woodworking skills with a touch of artistry. The rhythmic strike of the hammer, the satisfying thud as a nail seats, and the gradual emergence of a sturdy, beautiful planter – these are all elements of a rewarding DIY experience. By understanding the tools, materials, and techniques, you can create planters that not only enhance your garden’s aesthetic but also provide a healthy and nurturing environment for your plants. Embrace the process, learn from any mistakes, and enjoy the satisfaction of building something with your own hands. Your garden will undoubtedly thank you for it.