Why Build a Birdhouse?
Attracting birds to your garden offers a delightful way to connect with nature. Beyond the visual appeal of feathered visitors, birds play a vital role in our ecosystem. They help control insect populations, pollinate plants, and disperse seeds. Building a birdhouse is a rewarding project that provides shelter and nesting opportunities for local bird species, contributing to their survival and the health of your local environment. It’s also a fantastic weekend activity for families, teaching valuable skills and fostering an appreciation for wildlife.
Must-Have Tools in Your House If You Work Regularly


The Joys of Birdwatching
The simple act of watching birds can be incredibly calming and enriching. Observing their behaviors, from foraging and courtship rituals to their interactions with their young, offers a unique window into the natural world. A well-placed birdhouse can transform your garden into a vibrant sanctuary, bringing the symphony of birdsong and the flutter of wings right to your doorstep.
Benefits for the Environment
By providing safe nesting sites, you directly contribute to avian conservation. Many natural nesting cavities are disappearing due to habitat loss and urbanization. A birdhouse can offer a much-needed alternative, helping bird populations thrive. Furthermore, the presence of insectivorous birds can naturally manage garden pests, reducing the need for chemical pesticides.
Choosing the Right Birdhouse Design
Not all birdhouses are created equal, and different species have specific needs. The size of the entrance hole, the internal dimensions, and the overall design can determine which birds will call your creation home. As a beginner focusing on using a hammer, we’ll aim for a classic, simple design suitable for common garden birds like wrens, chickadees, and bluebirds.
Key Considerations for Birdhouse Design
- Species Specificity: Research the birds common to your area and their preferred nesting habits. Entrance hole diameter is crucial – too large and predators can enter, too small and your target species won’t fit.
- Ventilation and Drainage: Proper airflow is essential to prevent overheating, and drainage holes prevent water from accumulating, which can lead to mold and disease.
- Material: Untreated wood is the best choice. Avoid pressure-treated lumber, as the chemicals can be harmful to birds. Cedar, pine, and redwood are excellent options due to their durability and resistance to rot.
- Ease of Cleaning: Birdhouses should be cleaned annually, usually in late fall or early spring, to remove old nesting material and parasites. Designs with an accessible opening for cleaning are highly recommended.
- Perches: Contrary to popular belief, perches are often unnecessary and can even assist predators in accessing the nest. Most small birds can cling directly to the entrance hole.
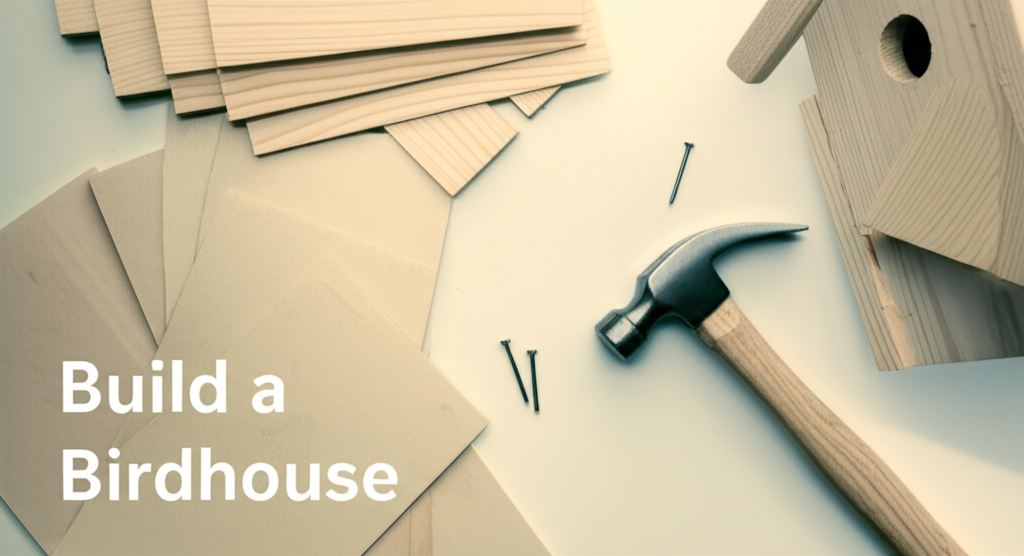
Materials and Tools: What You’ll Need
Building a birdhouse with a hammer is straightforward if you have the right materials and tools. We’ll focus on readily available items.
Essential Materials
- Wood: A single 1″ x 6″ x 6′ board of untreated cedar, pine, or redwood. This is usually enough for a standard birdhouse.
- Screws or Nails: Exterior-grade screws (1 ¼” to 1 ½”) or galvanized nails are recommended for durability against the elements.
- Wood Glue (Optional but Recommended): Waterproof wood glue will add extra strength to your joints.
- Sandpaper: Medium-grit (100-150) and fine-grit (220) sandpaper for smoothing rough edges.
- Hanging Mechanism: A screw eye hook or a sturdy piece of wire for hanging.
Essential Tools
- Hammer: A standard claw hammer is perfect for driving nails.
- Measuring Tape: For accurate measurements of your wood pieces.
- Pencil: For marking cut lines.
- Saw: A handsaw or a power jigsaw/circular saw for cutting the wood.
- Drill with Drill Bits: For pre-drilling holes to prevent wood splitting and for creating the entrance hole.
- Safety Glasses: Always wear eye protection when sawing or hammering.
- Work Gloves (Optional): To protect your hands.
Key Facts and Design Comparison
Here’s a quick reference for the dimensions of a common birdhouse suitable for smaller cavity-nesting birds:
| Component | Recommended Size | Purpose |
|---|---|---|
| Floor | 4″ x 4″ | Internal nesting space |
| Front Wall | 5 ½” (width) x 8″ (height) | Main body, entrance hole placement |
| Back Wall | 5 ½” (width) x 9 ½” (height) | Provides overhang for roof attachment and mounting |
| Side Walls (x2) | 4″ (bottom width) x 8″ (front height) x 9 ½” (back height) | Creates the angled roof slope |
| Roof (x2 pieces) | 6″ x 6″ | Protects from rain and sun |
| Entrance Hole Diameter | 1 ¼” to 1 ½” | Species dependent; crucial for predator protection |
| Ventilation Holes | ¼” diameter (2-4 holes) | Allows air circulation |
| Drainage Holes | ¼” diameter (4 holes) | Prevents water buildup |
Step-by-Step Birdhouse Construction
Now, let’s get building! We’ll break down the process into manageable steps, focusing on using your hammer effectively.
Step 1: Measure and Cut Your Wood Pieces
Using your measuring tape and pencil, carefully mark the dimensions on your 1″ x 6″ board. Double-check your measurements before cutting.
- Floor: Cut one piece to 4″ x 4″.
- Front Wall: Cut one piece 8″ long.
- Back Wall: Cut one piece 9 ½” long.
- Side Walls (x2): For these, you’ll need to make an angled cut. Measure 8″ up one edge of your 6″ wide board and 9 ½” up the other edge. Draw a line connecting these two marks. This will give you the correct angle for the roof slope. Cut two pieces with these dimensions.
- Roof (x2): Cut two pieces 6″ x 6″.
Step 2: Prepare the Entrance Hole and Ventilation/Drainage
- Entrance Hole: On the front wall piece, measure down about 6 inches from the top and find the center. Use your drill with a 1 ¼” or 1 ½” drill bit (depending on the birds you want to attract) to create the entrance hole.
- Ventilation Holes: Near the top of the side walls, drill two ¼” holes on each side for ventilation.
- Drainage Holes: Drill four ¼” holes in the corners of the floor piece to allow water to escape.
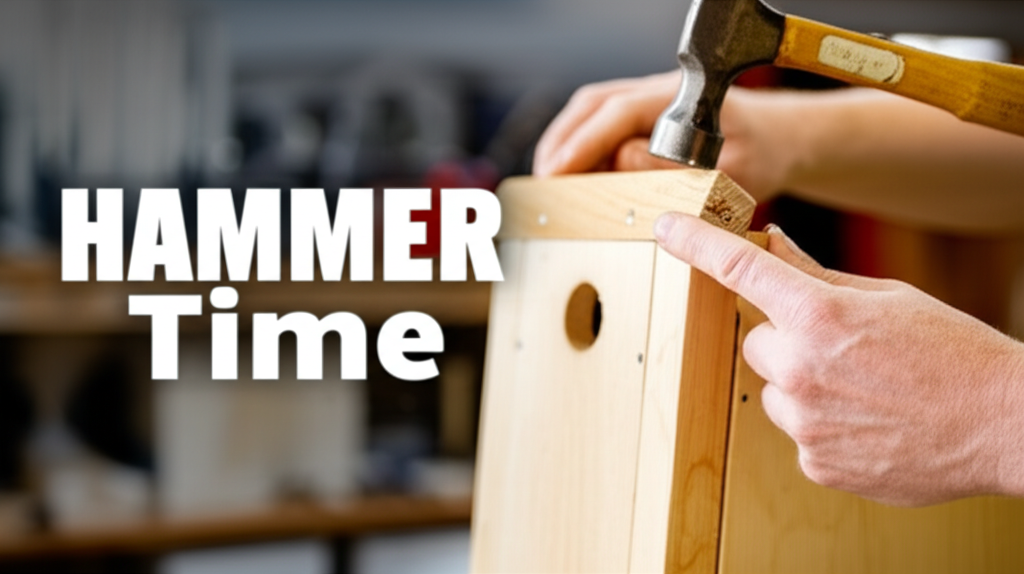
Step 3: Assemble the Walls
This is where your hammer comes into play!
- Attach Sides to Floor: Place the floor piece flat. Apply wood glue (if using) to the bottom edges of the side walls. Position the side walls upright on the edges of the floor, ensuring the shorter edge of the side walls aligns with the front of the floor and the taller edge aligns with the back. Pre-drill pilot holes through the side walls into the floor piece to prevent the wood from splitting. Use your hammer to drive two nails or screws through each side wall into the floor.
- Attach Front Wall: Apply wood glue to the front edges of the floor and side walls. Position the front wall against these edges, ensuring the bottom is flush with the floor and the sides are flush with the side walls. Pre-drill pilot holes and then use your hammer to drive nails or screws through the front wall into the edges of the side walls and the floor. Use at least two fasteners per edge.
- Attach Back Wall: Apply wood glue to the back edges of the floor and side walls. Position the back wall against these edges. The back wall should extend above the side walls to accommodate the roof. Pre-drill pilot holes and use your hammer to drive nails or screws through the back wall into the side walls and the floor.
Step 4: Attach the Roof
- First Roof Piece: Apply wood glue to the top edge of one side wall and the top edge of the front and back walls where the roof will sit. Place one roof piece onto these edges, allowing for a slight overhang on the front and sides. Pre-drill pilot holes through the roof piece into the walls and then hammer in nails or screws.
- Second Roof Piece: Apply wood glue to the top edge of the remaining side wall and the remaining top edges of the front and back walls, as well as the top edge of the first roof piece. Position the second roof piece so it overlaps the first roof piece at the peak and creates an overhang. Pre-drill and secure with nails or screws. Ensure a good seal at the peak to keep out rain.
Step 5: Finishing Touches
- Sand Rough Edges: Use your sandpaper to smooth any rough edges or splinters, especially around the entrance hole. This protects the birds from injury.
- No Paint Inside: Never paint or varnish the inside of the birdhouse, as the fumes can be harmful to birds.
- Exterior Finish (Optional): If you wish to paint or stain the exterior for aesthetics and added protection, use non-toxic, water-based paints or stains. Light, natural colors are best. Avoid bright colors, which can attract predators. Allow ample time for the finish to dry and air out completely before hanging.
- Attach Hanging Mechanism: Screw a screw eye hook into the top of the back wall or the peak of the roof, or securely attach a sturdy wire loop for hanging.
Pros and Cons of Hammer-Built Birdhouses
While a hammer is a fundamental tool, understanding its strengths and limitations in this project is beneficial.
| Pros | Cons |
|---|---|
| Simplicity: A hammer is intuitive and easy to use for beginners. | Wood Splitting: Over-hammering or not pre-drilling can lead to wood splitting, especially with harder woods. |
| Speed: For simple connections, hammering nails can be quicker than driving screws with some drills. | Less Secure Joints: Nail heads can sometimes work loose over time with expansion and contraction of the wood. |
| Accessibility: Hammers are widely available and generally less expensive than power tools. | Aesthetics: Nail heads can be more visible and less aesthetically pleasing than countersunk screws. |
| Direct Force: Provides direct, tactile feedback when joining pieces. | Potential for Damage: Can damage the wood surface if the hammer strikes are not controlled or if the claw is used improperly. |
Where to Hang Your Birdhouse
The location of your birdhouse is as important as its construction.
Ideal Placement Strategies
- Height: Hang the birdhouse between 5 and 15 feet off the ground, depending on the species.
- Orientation: Face the entrance hole away from prevailing winds and direct afternoon sun. An east or southeast facing opening is often ideal.
- Predator Protection: Avoid placing the birdhouse near branches that predators like cats or squirrels can easily access. Consider mounting it on a pole with a baffle to deter climbing predators.
- Proximity to Cover: Birds appreciate having nearby trees or shrubs for perching, foraging, and escaping danger.
- Avoid High-Traffic Areas: Place the birdhouse in a quieter part of your yard where it won’t be disturbed by frequent human activity.
Maintaining Your Birdhouse
Regular maintenance ensures your birdhouse remains a safe and inviting home for birds year after year.
Cleaning and Inspection
- Annual Cleaning: After the nesting season is over (late fall or early spring), remove old nesting materials. You can use a stiff brush and a mild solution of 1 part bleach to 9 parts water to disinfect. Rinse thoroughly and allow it to dry completely before re-hanging.
- Inspect for Damage: Check for any loose nails, cracks, or signs of rot. Make repairs as needed.
- Predator Guards:** If you notice signs of predator activity, consider adding a predator guard around the entrance hole.
Conclusion: Your Bird-Friendly Contribution
Building a birdhouse with a hammer is a rewarding and accessible project that allows you to make a tangible positive impact on your local wildlife. By following these steps and considering the needs of your feathered visitors, you can create a safe haven that will be appreciated for seasons to come. Enjoy the sounds and sights of nature that your new birdhouse will bring to your garden!