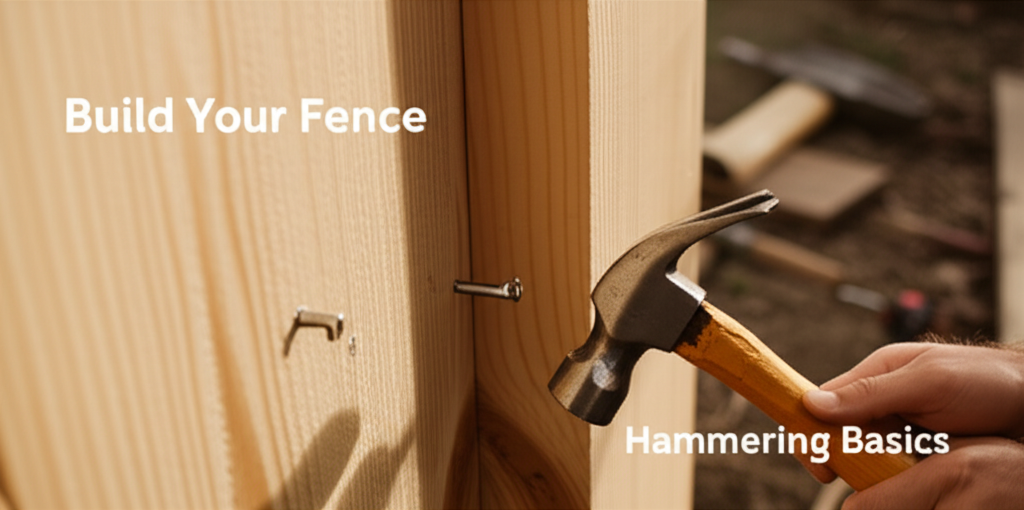
Introduction: Building a Wooden Fence with Just a Hammer – Is it Possible?
The dream of a sturdy, attractive wooden fence often conjures images of power tools and complex joinery. However, for the resourceful DIYer, it’s entirely possible to construct a functional and aesthetically pleasing wooden fence using primarily the most fundamental tool: the hammer. While modern advancements offer speed and precision, understanding the basics of building with a hammer not only hones essential carpentry skills but can also be a cost-effective and rewarding endeavor, especially for smaller projects or in situations where power is limited. This guide will walk you through the process, emphasizing techniques and considerations for a successful hammer-centric fence build.
Must-Have Tools in Your House If You Work Regularly


Why Choose a Hammer-Focused Approach?
Before diving into the “how,” let’s consider the “why.” Building a fence with a hammer might seem antiquated, but it offers several unique advantages:
- Accessibility: A hammer is a universally available and relatively inexpensive tool. This makes fence building accessible to a wider range of individuals.
- Skill Development: Relying on a hammer forces a deeper understanding of wood, fasteners, and the principles of structural integrity. It’s a fantastic way to learn the fundamentals of carpentry.
- Portability: For remote locations or small projects, the portability of a hammer and nails is invaluable. No need for generators or long extension cords.
- Sense of Accomplishment: There’s a unique satisfaction in creating something tangible and functional with such a basic tool.
- Cost-Effectiveness: While labor is still involved, the reduced reliance on expensive power tools can make this approach more budget-friendly.
Limitations to Consider
It’s crucial to acknowledge that building a fence solely with a hammer presents certain limitations. These are important to weigh against the benefits:
- Time Commitment: Expect the process to be significantly more time-consuming than using power tools.
- Precision: Achieving perfectly straight cuts and joints will be more challenging without saws. Pre-cut lumber is highly recommended.
- Physical Exertion: Driving many nails with a hammer requires considerable stamina and can lead to fatigue.
- Accuracy: While skill can compensate, minor inaccuracies in nailing can accumulate and affect the overall appearance and stability.
Planning Your Hammer-Built Wooden Fence
Successful fence construction, regardless of the tools used, begins with meticulous planning. This phase is even more critical when relying on simpler methods.
Assessing Your Project Needs
Before you even pick up a hammer, consider these questions:
- Purpose of the Fence: Is it for privacy, security, pet containment, or aesthetic appeal? This will dictate height, spacing, and style.
- Property Boundaries: Clearly understand your property lines to avoid disputes. Consult local ordinances and consider marking the boundaries.
- Fence Style: Simple picket, solid privacy, or something more decorative? The style will influence material choices and construction complexity.
- Local Regulations: Check for any building codes, permit requirements, or height restrictions in your area.
Material Selection: The Foundation of Your Fence
The quality of your materials will directly impact the longevity and appearance of your fence. For a hammer-focused build, prioritize lumber that is easy to work with and pre-cut where possible.
Types of Wood
- Cedar: Naturally resistant to rot and insects, cedar is an excellent choice for outdoor projects. It’s relatively soft, making it easier to nail.
- Redwood: Similar to cedar in its natural durability, redwood is another premium option, though often more expensive.
- Pressure-Treated Pine: This is the most common and budget-friendly option. It’s treated to resist decay and insect infestation, making it suitable for ground contact.
- Cypress: Another naturally durable wood, cypress offers good resistance to moisture and insects.
Key Components and Their Dimensions
Your fence will consist of several core components. Standard dimensions are provided, but you may need to adjust based on your specific design and local lumber availability.
| Component | Typical Material | Typical Dimensions | Hammering Considerations |
|---|---|---|---|
| Posts | Pressure-Treated Lumber, Cedar, Redwood | 4×4 inches, 6×6 inches | Requires substantial nailing for stability. Consider pre-drilling pilot holes for larger fasteners if available. |
| Rails (Horizontal Supports) | Pressure-Treated Lumber, Cedar, Redwood | 2×4 inches, 2×6 inches | Easy to nail securely to posts. |
| Pickets (Vertical Boards) | Pressure-Treated Lumber, Cedar, Redwood | 1×4 inches, 1×6 inches | Nail through pickets into rails. Consistent spacing is key. |
| Post Caps (Optional) | Wood, Metal | Varies | Typically nailed or screwed on. |
Choosing the Right Fasteners
While we’re focusing on the hammer, the type of nail you use is critical.
- Galvanized Nails: Essential for outdoor use to prevent rust and staining. Choose nails long enough to penetrate at least two-thirds of the way into the adjoining piece of wood.
- Common Nails: Thicker and sturdier than finishing nails, suitable for structural connections.
- Ring-Shank Nails: Offer enhanced holding power due to their textured surface.
- Nail Size: For attaching 2×4 rails to 4×4 posts, 16d (3.5 inches) galvanized nails are common. For attaching pickets to rails, 8d (2.5 inches) or 10d (3 inches) galvanized nails are usually sufficient.
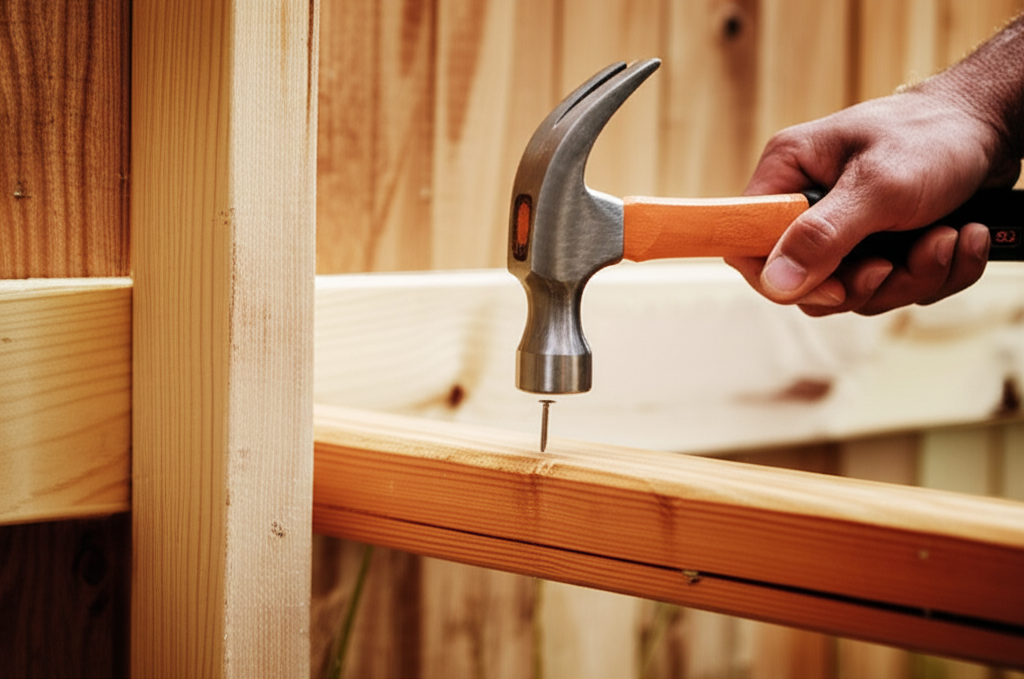
The Hammering Process: Step-by-Step Construction
This is where the rubber meets the road, or rather, the hammer meets the nail. Patience and proper technique are your greatest allies.
Step 1: Setting the Posts – The Backbone of Your Fence
This is the most critical step for overall fence stability.
- Mark Post Locations: Use string lines and stakes to precisely mark where each post will be placed. Ensure the string is taut and level.
- Dig Post Holes: The depth of the hole is crucial for stability. Generally, one-third of the post length should be below ground. For a 6-foot fence, this means at least a 2-foot deep hole for 8-foot posts (6 feet above ground + 2 feet below ground). The diameter of the hole should be about three times the width of the post.
- Prepare the Post: For hammer-only construction, if you have any slightly thicker lumber for posts, consider using a hand saw (if available) to flatten the bottom for better ground contact, or simply ensure it’s firmly seated.
- Set the Posts: Place the posts in the holes. Use a level to ensure each post is perfectly vertical. Brace the posts temporarily with scrap wood to hold them in place while you backfill.
- Backfill and Tamp: Fill the holes with the excavated soil, compacting it firmly around the post with your foot or the end of a hammer handle. For added stability, you can use gravel or concrete in the bottom of the hole, tamping it down well. If using concrete, allow it to cure fully before proceeding.
Step 2: Attaching the Rails – Creating the Framework
Rails connect the posts and provide a surface to attach the pickets.
- Determine Rail Placement: Typically, there are two or three rails running horizontally between the posts. The top rail aligns with the top of the fence, and the bottom rail should be a few inches off the ground to prevent water absorption.
- Mark Rail Positions: Use a tape measure and level to mark the exact locations where the rails will attach to the posts. Ensure these marks are consistent across all posts.
- Position and Nail Rails: Hold a rail in place against the posts at the marked locations. Drive nails through the rail into the posts. Aim for at least two to three nails at each connection point. Drive the nails straight and flush with the wood surface. If the wood is dense, a firm, controlled swing is better than a wild swing.
- Check for Level: As you attach each rail, use your level to ensure it is perfectly horizontal. Adjust as needed before driving in the final nails.
Step 3: Nailing the Pickets – The Visible Face of Your Fence
This is the most time-consuming part of a hammer-built fence, but also where the visual transformation occurs.
- Start at One End: Begin with the first picket at one end of the fence run. Align it with the edge of the first post and ensure it’s plumb (perfectly vertical) using your level.
- Nail the Picket: Drive two nails through the picket into the top rail, and two nails through the picket into the bottom rail. Ensure the nails are driven straight and do not split the wood. A good technique is to hold the nail with your non-hammer hand (keeping fingers clear!) and tap the nail head a couple of times to set it before removing your fingers and swinging the hammer with more force.
- Maintain Consistent Spacing: Use a spacer block (a scrap piece of wood cut to your desired gap width) to ensure uniform spacing between each picket. Place the spacer against the previously nailed picket, then position the next picket against the spacer.
- Continue Across the Fence: Work your way along the fence line, attaching each picket with consistent spacing and ensuring they remain plumb.
- Cut Pickets to Fit (If Necessary): If your fence height requires pickets to be cut, this is where a hand saw would be beneficial. If you absolutely must use only a hammer, you might need to rely on pre-cut pickets or accept slightly uneven tops if your desired height varies slightly.
Step 4: Adding Finishing Touches
These details enhance the durability and appearance of your fence.
- Post Caps (Optional): If you’re using post caps, nail or hammer them into place on top of the posts.
- Kickboards (Optional): For added protection against ground moisture and to prevent lawnmowers from damaging pickets, a horizontal board at the base of the fence (a kickboard) can be added. Nail this securely to the bottom of the pickets.
- Gates: Building a gate with only a hammer is possible, but requires careful construction to ensure it swings smoothly and remains square. This often involves more complex joinery or reinforcing with metal brackets. For a beginner, a pre-made gate or a simpler gate design is recommended.
Hammering Techniques for Success
Mastering a few fundamental hammering techniques will make the process smoother and the results better.
Grip and Stance
- Grip: Hold the hammer towards the end of the handle for maximum leverage and power. A comfortable grip that allows for control is essential.
- Stance: Stand with your feet shoulder-width apart, facing the nail squarely. This provides a stable base for your swings.
Driving Nails
- Starting the Nail: Place the nail head against the wood. Gently tap the nail head with the hammer to set it in place, ensuring it’s straight.
- The Swing: Use your wrist and elbow for short taps, and your shoulder for more powerful swings. Keep your eye on the nail head.
- Flush Driving: Once the nail is mostly driven, use shorter, controlled swings to sink the nail head just below the surface of the wood without crushing the wood fibers.
- Bent Nails: If a nail bends, don’t try to force it straight. Use the claw of the hammer to carefully pull it out and start again with a new nail.
Hammering into Different Woods
- Softwoods (Cedar, Pine): Easier to drive nails into. Be careful not to overdrive nails and split the wood.
- Hardwoods (Less Common for Pickets but Possible): May require more force. Pre-drilling pilot holes (if you have a hand drill) can be very beneficial.
Maintenance and Longevity
Even a well-built hammer-constructed fence requires care to last.
Regular Inspections
- Periodically walk along your fence line and inspect for loose or popped nails.
- Check for any signs of rot, insect damage, or leaning posts.
- Look for loose pickets or rails that may need re-nailing.
Repairs
- Loose nails can often be hammered back in.
- Replace any rotted or damaged sections of wood promptly.
- If a post is significantly leaning, you may need to dig it out and re-set it, or brace it more securely.
Protective Treatments
- Consider applying a sealant or stain to your wooden fence. This will protect the wood from UV rays and moisture, extending its lifespan and enhancing its appearance. Reapply every 2-3 years as needed.
Key Facts and Comparisons
To summarize the essential information and provide a quick reference for your hammer-built fence project.
| Aspect | Details |
|---|---|
| Primary Tool | Hammer |
| Key Skill | Accurate Nail Driving, Spatial Planning |
| Time Investment | High |
| Cost Efficiency | Potentially High (lower tool cost) |
| Material Prep | Pre-cut lumber highly recommended |
| Durability | Dependent on material quality and nailing accuracy |
| Aesthetics | Can be very appealing with careful spacing and straight pickets |
Pros and Cons of a Hammer-Built Fence
A balanced view of the advantages and disadvantages to help you decide if this approach is right for you.
| Pros | Cons |
|---|---|
| Increased Accessibility (minimal tool requirement) | Significantly more time-consuming |
| Develops Fundamental Carpentry Skills | Achieving perfect precision is more challenging |
| Cost-Effective (reduced tool expense) | Physically demanding due to repetitive hammering |
| Portable and Versatile for Small Projects | Bent nails and minor inaccuracies can occur |
| Sense of Accomplishment | May require more physical effort than anticipated |
| Ideal for Limited Power Access | Limited options for complex designs or joinery without additional tools |
Conclusion: Your Hammer and Your Dream Fence
Building a wooden fence with a hammer is a testament to traditional craftsmanship and the power of perseverance. While it demands more time and physical effort, the satisfaction of creating a sturdy, beautiful barrier with such a fundamental tool is immense. By carefully planning, selecting quality materials, and employing sound hammering techniques, you can indeed hammer your way to a fence that enhances your property and brings a sense of accomplishment. Remember to prioritize safety, be patient with yourself, and enjoy the process of building something tangible and lasting with your own hands.