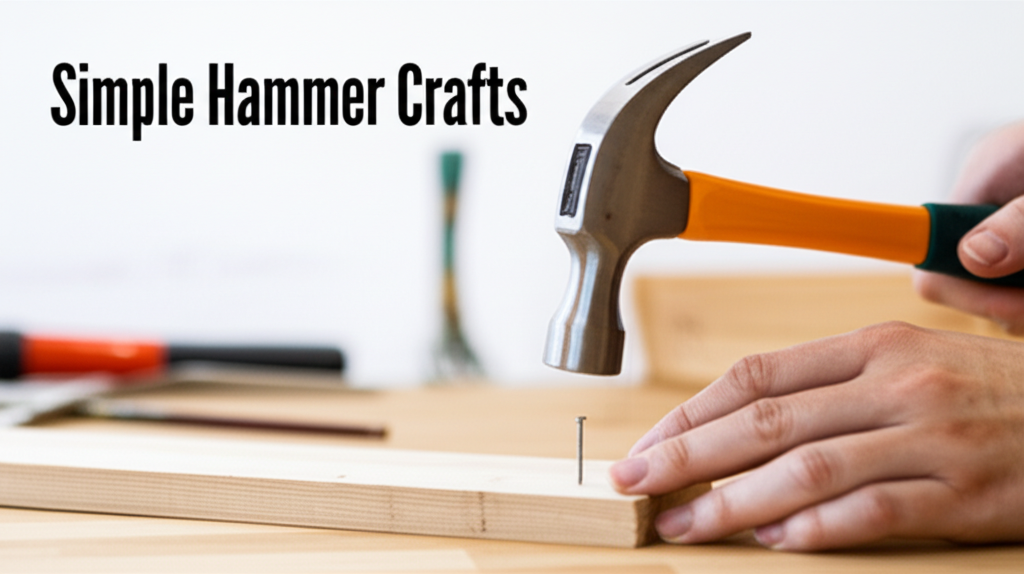
Introduction: More Than Just a Nail Driver
When you think of a hammer, images of construction sites and hammering nails into large wooden beams might come to mind. However, the versatile hammer is an indispensable tool for a surprising array of small home crafts. From intricate woodworking projects and upholstery to delicate repairs and even decorative arts, the right hammer can elevate your craftsmanship and make tasks significantly easier. This guide will delve into the world of hammers, exploring their different types, how to choose the right one for your specific craft needs, essential safety tips, and some practical applications that will inspire your next DIY project.
Must-Have Tools in Your House If You Work Regularly


Understanding Hammer Types for Craftsmanship
Not all hammers are created equal. The head’s weight, shape, and material, along with the handle’s design, all contribute to a hammer’s suitability for different tasks. For small home crafts, you’ll typically find yourself reaching for lighter, more precise tools.
Ball-Peen Hammers
Characterized by a rounded “ball” on one side of the head and a flat striking face on the other, ball-peen hammers are incredibly versatile. The rounded end is ideal for shaping metal, riveting, and peening (thinning or shaping metal by hammering). In crafting, this can translate to shaping wire for jewelry, creating textured surfaces on metal pieces, or even working with soft metals in mixed-media art.
Claw Hammers
The ubiquitous claw hammer is perhaps the most recognizable hammer. Its primary function is driving nails, but the opposite end, the claw, is designed for extracting them. For small crafts, a lighter-weight claw hammer, often referred to as a “trim hammer” or “finish hammer,” is more appropriate. These have smaller heads and are designed for driving finishing nails into finer woodwork without damaging the surface. They are perfect for assembling small wooden frames, attaching delicate trim, or working on dollhouse furniture.
Tack Hammers
Specifically designed for upholstery and fine woodworking, tack hammers are small and lightweight. They typically have a magnetic end to hold small tacks or brads in place, making precise placement much easier. This is invaluable when working with delicate fabrics, thin veneers, or assembling intricate wooden models.
Mallets
While not technically “hammers” in the traditional metal-headed sense, mallets are essential crafting tools. They are made from softer materials like rubber, plastic, wood, or rawhide, and are designed to strike without marring or damaging the workpiece. Woodworkers use mallets to tap chisels, assemble joints, and shape wood gently. Leatherworkers use them for stamping and embossing designs. In home crafts, a rubber mallet can be useful for fitting together puzzle pieces, tapping wooden dowels into place, or even gently persuading stubborn components in assembled furniture.
Chasing Hammers
A type of ball-peen hammer, the chasing hammer has a lighter head and a longer handle, offering greater control and precision. The peen is typically more rounded. These are favored by metalsmiths and jewelers for detailed work, such as chasing (creating raised designs by hammering from the back) or repoussé (hammering from the front to create relief). For ambitious crafters, these can be used for creating embossed patterns on thin sheet metal or even for texturing paper or leather.
Jeweler’s Hammers
These are specialized, small, and lightweight hammers designed for intricate work. They often have interchangeable heads made of various materials (metal, plastic, rubber) to suit different tasks, from setting small stones to delicate metal forming. The emphasis is on control and precision, making them ideal for fine jewelry making or detailed miniature work.
Key Considerations When Choosing a Hammer for Crafts
The success of your craft project often hinges on using the right tool. Here are the crucial factors to consider when selecting a hammer for your small home crafts:
Weight and Size
For most small home crafts, a lighter hammer is preferable. Heavy hammers can cause damage to delicate materials and lead to fatigue. Look for hammers with heads weighing between 4 and 16 ounces. The overall size of the hammer should also feel comfortable in your hand, allowing for a secure and controlled grip.
Handle Material and Grip
Hammer handles are commonly made from wood (like hickory), fiberglass, or steel. Wood offers a classic feel and good shock absorption. Fiberglass provides durability and is often lighter. Steel handles, especially with rubber grips, offer excellent strength. A comfortable, non-slip grip is paramount for safety and control, especially when performing detailed work.
Head Material and Shape
The material of the hammerhead is important for the type of impact you need. Steel is the most common for striking faces. For crafting, you might opt for hammers with polished or hardened steel heads to prevent marring. The shape of the head, as discussed earlier (ball-peen, claw, flat), dictates its specific function.
Balance
A well-balanced hammer will feel natural in your hand and allow for more precise strikes. Try to hold the hammer to gauge its balance point. It should feel like an extension of your arm, not an unwieldy weight.
Essential Safety Practices for Hammering in Crafts
Even when working with lighter hammers for small projects, safety should always be your top priority.
Wear Eye Protection
Always wear safety glasses or goggles. Flying debris, whether it’s a splinter of wood, a fragment of metal, or a tiny tack, can cause serious eye injury. This is non-negotiable, regardless of the perceived risk.
Secure Your Workpiece
Ensure your project is firmly secured to a workbench or stable surface. Use clamps or a vise to prevent the workpiece from moving unexpectedly during hammering. This not only improves accuracy but also significantly reduces the risk of injury.
Use the Correct Hammer for the Job
As outlined above, using a hammer that is too heavy or not designed for the task can lead to accidents and damage. A tack hammer for upholstery tacks, for instance, is far safer and more effective than trying to use a large claw hammer.
Maintain a Clean Workspace
Keep your work area free of clutter, tools, and debris. Tripping hazards or misplaced items can lead to falls or accidental contact with tools.
Proper Hammer Grip and Stance
Hold the hammer firmly but not too tightly. A relaxed grip allows for better control. Stand with your feet shoulder-width apart, providing a stable base. Aim to strike with your wrist and forearm, rather than just your arm, for controlled power.
Inspect Your Hammer
Before each use, check your hammer for any damage to the head or handle. A loose head or a cracked handle can be extremely dangerous. If you notice any defects, do not use the hammer until it is repaired or replaced.
Practical Applications of Hammers in Small Home Crafts
The versatility of hammers opens up a world of possibilities for home crafters. Here are some common and creative ways they are used:
Woodworking and Model Building
- Assembling small wooden furniture, birdhouses, or dollhouse components using finishing nails.
- Driving small brads into picture frames or decorative wooden elements.
- Tapping wooden dowels into place for stronger joints in small projects.
- Gently tapping pieces together in model kits to ensure a snug fit.
Upholstery and Soft Furnishings
- Securing fabric to wooden frames using upholstery tacks or staples (often with a tack hammer or staple gun attachment).
- Attaching trim, braids, or decorative nails to cushions, chairs, or headboards.
- Creating decorative patterns with small nails or tacks on fabric surfaces.
Jewelry Making and Metal Craft
- Shaping wire for earrings, bracelets, or pendants using the ball end of a ball-peen hammer.
- Creating textured surfaces on soft metals like copper or brass.
- Flattening or shaping small metal components.
- Setting small rivets in metal constructions.
Paper Crafts and Mixed Media
- Creating embossed or textured effects on cardstock or thin metal sheets using a chasing or ball-peen hammer with care.
- Securing decorative elements with small brads or eyelets.
- Attaching metal embellishments to paper crafts.
Leatherworking
- Using a rawhide or plastic mallet for stamping patterns into leather.
- Setting rivets and eyelets in leather goods like wallets or belts.
- Gently tapping leather pieces together to ensure adhesion of glues.
Comparison of Common Crafting Hammers
To help you make an informed decision, here’s a comparison of some of the most frequently used hammers in small home crafts:
| Hammer Type | Typical Weight | Primary Craft Use | Key Features |
|---|---|---|---|
| Trim/Finish Hammer | 4-10 oz | Fine Woodworking, Picture Frames | Thin, often magnetized, claw for small nails |
| Tack Hammer | 3-8 oz | Upholstery, Delicate Woodworking | Small head, magnetic face for tacks/brads |
| Ball-Peen Hammer | 8-16 oz | Metal Shaping, Jewelry Making | Rounded peen for shaping, flat face for striking |
| Rubber Mallet | 8-24 oz | Assembly, Gentle Persuasion | Non-marring head, absorbs shock |
| Jeweler’s Hammer | 2-6 oz | Intricate Metalwork, Jewelry | Very small, precise, often interchangeable heads |
Step-by-Step Guide: Basic Hammering Technique
Mastering the basic hammering technique is crucial for both efficiency and safety.
Step 1: Secure Your Workpiece
Use clamps or a vise to firmly hold your project in place. Ensure the area where you intend to hammer is accessible and stable.
Step 2: Select the Correct Hammer and Fastener
Choose the hammer and nail/brad appropriate for the material and size of your project. For instance, use a finishing nail with a trim hammer for delicate woodworking.
Step 3: Position the Fastener
Place the nail or brad on the desired spot. If using a tack hammer, the magnetic tip will hold it for you. For regular hammers, hold the fastener between your thumb and forefinger, keeping them clear of the hammer’s path.
Step 4: The Starting Tap
With a light, controlled touch, gently tap the head of the nail or brad with the hammer. This is just enough to set the fastener upright and allow you to remove your fingers. Your goal here is to make the fastener stand on its own.
Step 5: The Driving Swing
Once the fastener is set, remove your fingers. Grip the hammer handle towards the end for better leverage and a stronger swing, but maintain control. Swing from your elbow and wrist, aiming for the center of the fastener’s head. Let the weight of the hammer do the work; don’t force it with excessive muscle power.
Step 6: Proper Angle and Depth
Aim to strike the fastener squarely. For nails, drive them until the head is flush with the surface or slightly countersunk if you plan to fill the hole. For brads, ensure they are fully seated without piercing the material too deeply.
Step 7: Removing the Fastener (if needed)
If you need to remove a fastener, position the claw of the hammer underneath the head. Apply steady, upward pressure, using the hammer’s fulcrum (the neck of the head) against the wood surface for leverage. You may need to rock the hammer gently.
Pros and Cons of Using Hammers in Crafts
Like any tool, hammers have their advantages and disadvantages when used in crafting.
| Pros | Cons |
|---|---|
| Versatile for various joining and shaping tasks. | Can cause damage (dents, scratches) if the wrong hammer or technique is used. |
| Relatively inexpensive and widely available. | Requires practice to achieve precision and avoid injury. |
| Provides a satisfying tactile feedback during the crafting process. | Can generate noise, which may be an issue in shared living spaces. |
| Can be used for both assembly and disassembly (e.g., claw hammers). | Heavy hammers can cause user fatigue. |
| Essential for specific craft techniques like peening or chasing. | Requires proper safety precautions to prevent accidents. |
Conclusion: Embracing the Hammer in Your Crafting Arsenal
The humble hammer, often overlooked in favor of more specialized tools, is a fundamental asset for any home crafter. From the precision of a tack hammer assembling a miniature scene to the gentle persuasion of a rubber mallet joining intricate woodworking pieces, understanding the different types and employing them correctly will undoubtedly enhance your creative endeavors. By prioritizing safety, choosing the right tool for the job, and practicing your technique, you can unlock a new level of skill and satisfaction in your small home crafts. So, pick up that hammer and let your creativity take flight!