Introduction: The Foundation of a Finished Door
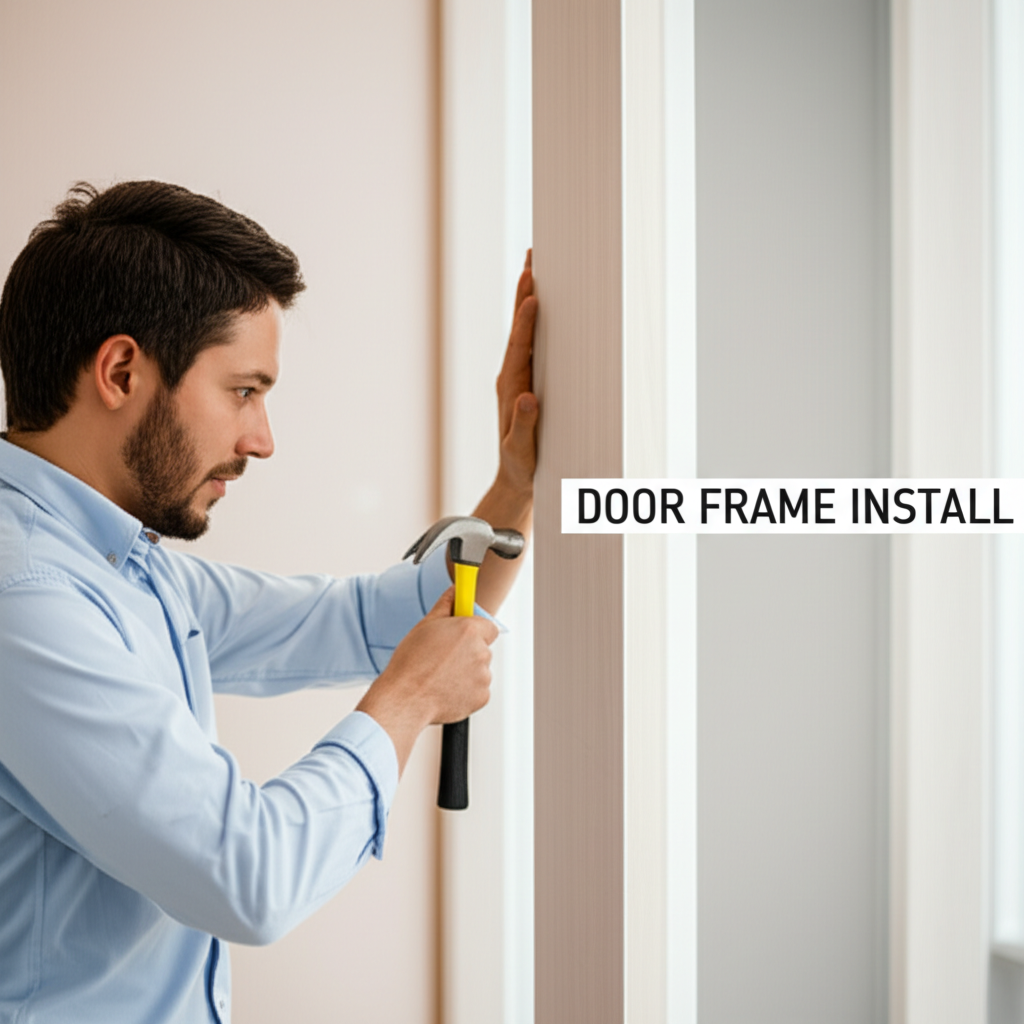
Installing a door frame is a critical step in any renovation or new build project. It’s the silent guardian of your doorway, providing structural integrity and a clean finish for your door. While many tools can assist, the humble hammer remains an indispensable ally for many DIYers and seasoned professionals alike. Its straightforward design and versatile functionality make it the go-to instrument for driving nails, securing components, and ensuring a snug fit. This comprehensive guide will explore how to effectively use a hammer to install door frames, covering everything from selecting the right hammer to the precise techniques that guarantee a professional result.
Must-Have Tools in Your House If You Work Regularly


Choosing the Right Hammer for the Job
Not all hammers are created equal, and selecting the appropriate one for door frame installation can significantly impact efficiency and the quality of your work. The primary considerations are the weight, head type, and handle material.
Hammer Head Types
- Claw Hammer: This is the most common type of hammer and is often the first choice for general carpentry. Its dual-purpose head features a flat striking face and a V-shaped claw for prying nails. While excellent for many tasks, the claw can sometimes interfere with precise hammering in tight spaces.
- Framing Hammer: Designed for heavy-duty construction, framing hammers are typically heavier than claw hammers and have a slightly larger, sometimes milled (ribbed) striking face. The milled face provides better grip on nail heads, reducing slippage. For door frame installation, especially with heavier jambs and thicker nails, a framing hammer can offer more driving power.
- Ball-Peen Hammer: Primarily used for metalworking, the ball-peen hammer has a round peen on one side of the head, used for shaping metal. It’s generally not the ideal choice for woodworking tasks like door frame installation.
- Mallet (Rubber or Wooden): While not a traditional hammer with a metal head, a mallet is crucial for tasks that require a softer touch. It’s used to gently tap door frames into place or to seat components without damaging the wood, often in conjunction with a hammer for more significant adjustments.
Weight and Balance
The weight of a hammer is subjective and depends on personal preference and the task at hand. A heavier hammer can drive nails with fewer blows, but it can also lead to fatigue and reduced accuracy if you’re not accustomed to it. Conversely, a lighter hammer offers more control but may require more strikes. The key is finding a hammer that feels balanced in your hand, allowing for a comfortable and controlled swing. For door frame installation, a medium-weight hammer (typically 16-20 ounces) is often a good starting point.
Handle Materials
- Wood: Traditional wooden handles, often made from hickory, are known for their shock absorption and comfortable grip. However, they can be susceptible to damage from moisture and impact.
- Fiberglass: Fiberglass handles are durable, lightweight, and offer good vibration dampening. They are less prone to breaking than wood and are often preferred for their longevity.
- Steel: Steel handles are extremely durable but can transmit more vibration to the user’s hand, potentially leading to fatigue. They are often overmolded with rubber or other materials for comfort.
Key Facts and Comparison of Hammer Types for Door Frames
| Hammer Type | Striking Face | Claw Feature | Typical Weight (oz) | Best For | Considerations for Door Frames |
| :————– | :———— | :———– | :—————— | :——————————————- | :—————————————————————————————————————————————— |
| Claw Hammer | Flat | Yes (V-shaped) | 16-20 | General carpentry, nail removal | Versatile, common. Claw can be a nuisance in confined spaces. |
| Framing Hammer | Flat or Milled | Yes (often longer) | 20-32 | Heavy-duty framing, driving large nails | Excellent driving power, milled face aids grip. Can be heavy for prolonged use. |
| Mallet | N/A | N/A | Varies | Gentle tapping, seating components | Essential for avoiding damage to jambs, especially during fitting. Always use in conjunction with other hammering methods. |
| Ball-Peen Hammer | Round | No | Varies | Metalworking | Not suitable for woodworking tasks. |
Preparing to Install the Door Frame
Before you even pick up a hammer, meticulous preparation is paramount. This stage sets the foundation for a successful installation and ensures you’re working with accurate measurements and prepared materials.
Measure Twice, Cut Once
This age-old adage is especially critical for door frame installation. Accurately measure the rough opening for both width and height. Then, measure your door jamb material. The goal is to create jambs that fit snugly within the rough opening, allowing for shims to ensure plumbness and levelness.
Gather Your Materials and Tools
Having all necessary items readily available will streamline the process and prevent interruptions.
- Door jamb kit (pre-cut or raw material)
- Hammer (chosen based on the tasks)
- Nails (brad nails, finishing nails, or framing nails depending on the jamb and wall construction)
- Shims (wooden or plastic)
- Level (spirit level)
- Measuring tape
- Pencil
- Utility knife
- Safety glasses
- Work gloves
- Chisel (optional, for minor adjustments)
- Cordless drill/driver (for pre-drilling if necessary)
Understanding the Components of a Door Frame
A standard door frame consists of three main parts:
- Head Jamb: The horizontal piece that spans the top of the opening.
- Side Jambs (or Jambs): The two vertical pieces that form the sides of the frame.
- Stop: A thin strip of wood that is nailed to the jambs and head jamb, creating a surface for the door to close against.
The Hammering Process: Step-by-Step Installation
The physical act of using a hammer to install a door frame requires precision and a methodical approach. Each nail driven contributes to the overall stability and alignment of the frame.
Step 1: Assemble the Jambs (if not pre-assembled)
If you’re working with individual pieces, you’ll first assemble the head jamb and side jambs to form a rectangular or U-shape. This is often done by cutting 45-degree miters at the corners where the head jamb meets the side jambs.
- Technique: For mitered joints, hold the pieces firmly in place. Use your hammer to drive a couple of finishing nails through the side jamb into the end of the head jamb, ensuring the mitered edges meet flush. A few well-placed nails will secure the joint. You might also opt for a biscuit joiner or glue for added strength, but nails are essential for immediate rigidity.
Step 2: Position and Shim the Jambs
This is where the hammer starts playing a more direct role, but with careful coordination with shims and a level.
- Plumb and Level: Place a side jamb into the rough opening. Insert shims between the jamb and the framing stud at strategic points – typically near the nails you will be driving. Use your level to ensure the jamb is perfectly plumb (vertically straight).
- Hammering to Adjust: Gently tap the shims with your hammer to move the jamb into the plumb position. A few light taps are usually all that’s needed. For more significant adjustments, you might need to place a block of wood against the jamb and strike the block with your hammer to avoid damaging the jamb itself.
Step 3: Nailing the Jambs to the Rough Opening
Once the jamb is plumb and the shims are holding it in place, you’re ready to nail. The type of nail and where you drive it is crucial.
- Nail Placement: Drive nails through the jamb and the shims into the framing studs behind the drywall. The number and spacing of nails will depend on the lumber size and weight of the door. Typically, nails are driven every 12-16 inches.
- Hammering Technique:
Starting the Nail: Hold the nail between your thumb and forefinger. Place the nail head against the jamb where you want it to go. Gently tap the nail head with the hammer to set it securely in the wood. Once the nail is standing on its own, withdraw your fingers.
Driving the Nail: Swing the hammer with a controlled motion, aiming for the center of the nail head. Keep your eye on the nail head, not the hammer. Use a full swing from the shoulder for maximum power, but maintain control. The goal is to drive the nail flush with the surface of the jamb.
* Countersinking (Optional): For a cleaner finish, especially if you plan to paint or stain, you can use a nail set to drive the nail head slightly below the surface of the wood. Place the nail set on the nail head and strike it with your hammer.
- Using a Mallet: When the jamb is almost in position and you’re making final adjustments, a rubber or wooden mallet can be invaluable. Use it to gently tap the jamb into its perfect alignment. This prevents the hammer from denting or marring the wood.
Step 4: Installing the Head Jamb
After the side jambs are secured, the head jamb is installed, connecting the two sides at the top.
- Positioning: Place the head jamb across the top of the side jambs. Ensure it is level and that the miters at the corners fit tightly.
- Nailing: Drive nails through the head jamb into the side jambs, typically at a slight angle. You’ll also nail the head jamb to the header framing in the rough opening. Again, ensure nails are driven flush or slightly countersunk.
Step 5: Attaching the Door Stop
The door stop is the final piece that provides a surface for the door to seal against.
- Alignment: Position the stop along the inside edge of the jambs and head jamb, leaving a consistent gap for the door to swing open and closed smoothly.
- Nailing: Use smaller finishing nails or brad nails for the door stop, as it’s a thinner piece of wood. Drive these nails carefully to avoid splitting the stop. The hammer here needs to be used with a lighter touch.
Advanced Hammering Techniques and Tips
Mastering the hammer goes beyond just hitting a nail. These tips can elevate your door frame installation from adequate to exceptional.
Controlled Swings
The power of your hammer swing comes from the wrist and elbow, not just the shoulder. A controlled, fluid motion is more accurate and less fatiguing than a jerky, over-forceful swing.
Aiming Accurately
Focus on the nail head. Visualize the path of the hammer. A slight misalignment can lead to bent nails or damaged wood.
Dealing with Bent Nails
It happens! If a nail starts to bend, stop hammering. Use the claw of your hammer or a nail puller to remove the bent nail. Try again with a fresh nail, perhaps angling your initial taps slightly differently.
Pre-Drilling (When Necessary)
In very hard wood, or when using larger nails close to the edge of the jamb, pre-drilling a pilot hole slightly smaller than the nail diameter can prevent splitting and make driving the nail easier. You would then use your hammer to drive the nail into the pre-drilled hole.
Using a Nail Set
For a professional finish, use a nail set to sink nail heads slightly below the surface. This is crucial for painting or staining, as the nail heads would otherwise be visible and prone to rust.
Pros and Cons of Using a Hammer for Door Frame Installation
| Pros | Cons |
| :——————————— | :————————————— |
| Versatility: Can be used for various nailing tasks. | Risk of Damage: Can mar or dent wood if not used carefully. |
| Control: Allows for precise placement of nails. | Potential for Fatigue: Heavy hammers can cause strain. |
| Cost-Effective: Hammers are relatively inexpensive tools. | Learning Curve: Mastering controlled swings takes practice. |
| Accessibility: Widely available and easy to find. | Bent Nails: Can occur if technique is not precise. |
| Tactile Feedback: You can feel the nail going in. | Noise: Hammering can be loud. |
When to Consider Alternatives or Supplements to the Hammer
While the hammer is a primary tool, modern carpentry often incorporates other tools for efficiency and precision.
- Nail Guns (Pneumatic or Cordless): For rapid, consistent nailing, nail guns are invaluable, especially for installing door stops or securing multiple jamb components. They offer speed and ease of use, but require an investment in the tool and associated consumables (nails, air compressor if pneumatic).
- Glue: Wood glue can be used in conjunction with nails for stronger, more durable joints, particularly at the mitered corners of the jambs.
- Screws: In some applications, especially where future adjustments might be needed or for very heavy doors, screws might be used instead of nails, driven by a drill/driver. However, nails are generally preferred for the initial framing and securing of the jambs due to their ability to hold through wood movement.
Safety First: Hammering with Care
Working with hammers requires attention to safety to prevent injuries.
- Eye Protection: Always wear safety glasses to protect your eyes from flying debris or errant nail heads.
- Hand Protection: Consider wearing work gloves to improve grip and protect your hands from splinters or accidental contact with the hammer face.
- Secure Footing: Ensure you have stable footing and are not working on an unstable surface.
- Clear Work Area: Keep your work area free of obstructions to prevent tripping.
- Hammer Inspection: Before use, inspect your hammer for any damage to the head or handle that could cause it to fail.
Conclusion: The Hammer’s Enduring Role
The hammer, in its elegant simplicity, remains a cornerstone of door frame installation. Its ability to precisely drive nails, secure components, and offer tactile feedback makes it an indispensable tool for any carpenter or DIY enthusiast. By understanding the different types of hammers, mastering the correct techniques, and prioritizing safety, you can confidently use this classic tool to create sturdy, professional-looking door frames that will stand the test of time. Whether you’re a novice tackling your first door or an experienced builder, the reliable swing of a hammer is a sound that signifies progress and craftsmanship.
html
<h2>Key Facts & Comparison</h2>
<table>
<thead>
<tr>
<th>Feature</th>
<th>Hammer (Claw Hammer)</th>
<th>Nail Gun (Pneumatic or Cordless)</th>
</tr>
</thead>
<tbody>
<tr>
<td>Primary Function</td>
<td>Driving nails, pulling nails, light demolition</td>
<td>Rapidly driving nails into materials</td>
</tr>
<tr>
<td>Power Source</td>
<td>Manual</td>
<td>Compressed air (pneumatic) or battery (cordless)</td>
</tr>
<tr>
<td>Speed of Nail Driving</td>
<td>Slow to moderate</td>
<td>Very fast</td>
</tr>
<tr>
<td>Control</td>
<td>High, user-dependent</td>
<td>Moderate, can be overdriven</td>
</tr>
<tr>
<td>Noise Level</td>
<td>Moderate (impact noise)</td>
<td>High (air compressor or firing mechanism)</td>
</tr>
<tr>
<td>Portability</td>
<td>Excellent</td>
<td>Good (especially cordless), but requires accessories (compressor, hose) for pneumatic</td>
</tr>
<tr>
<td>Cost (Initial)</td>
<td>Low</td>
<td>Moderate to high</td>
</tr>
<tr>
<td>Cost (Ongoing)</td>
<td>Negligible</td>
<td>Nails, air, battery charging/replacement</td>
</tr>
<tr>
<td>Learning Curve</td>
<td>Low</td>
<td>Moderate (learning to handle and adjust)</td>
</tr>
<tr>
<td>Suitable for Door Frames</td>
<td>Yes, traditional method</td>
<td>Yes, efficient for multiple frames</td>
</tr>
</tbody>
</table>
<h2>Steps, Pros & Cons of Using a Hammer for Door Frames</h2>
<table>
<thead>
<tr>
<th>Phase</th>
<th>Key Steps</th>
<th>Pros</th>
<th>Cons</th>
</tr>
</thead>
<tbody>
<tr>
<td rowspan="3">Preparation</td>
<td>Inspect door frame and rough opening for plumbness and squareness.</td>
<td>Ensures a good fit and prevents future issues.</td>
<td>Requires careful measurement and potentially shims.</td>
</tr>
<tr>
<td>Position the door frame in the rough opening.</td>
<td>Allows for initial placement and alignment.</td>
<td>Frame can be heavy and awkward to hold steady.</td>
</tr>
<tr>
<td>Shim the frame to achieve plumb and square.</td>
<td>Crucial for proper door operation.</td>
<td>Time-consuming and requires precision.</td>
</tr>
<tr>
<td rowspan="3">Nailing</td>
<td>Start with the hinge-side jamb.</td>
<td>Provides a stable anchor point.</td>
<td>Requires holding the jamb firmly while hammering.</td>
</tr>
<tr>
<td>Drive nails through the jamb into the studs. Use shims behind the jamb where needed.</td>
<td>Secures the frame to the wall structure.</td>
<td>Risk of splitting wood if not careful. Hammering can be noisy. Missing a stud can compromise stability.</td>
</tr>
<tr>
<td>Nail the strike-side jamb, ensuring the door closes correctly.</td>
<td>Completes the structural integrity of the frame.</td>
<td>Requires careful adjustment to ensure the door swings freely and latches properly.</td>
</tr>
<tr>
<td rowspan="2">Finishing</td>
<td>Check for any protruding nails and tap them flush or countersink them.</td>
<td>Provides a clean finish.</td>
<td>May require a nail set for a flush finish.</td>
</tr>
<tr>
<td>Apply caulk and trim around the frame.</td>
<td>Completes the installation and aesthetic.</td>
<td>Standard finishing step, not hammer-specific.</td>
</tr>
</tbody>
</table>