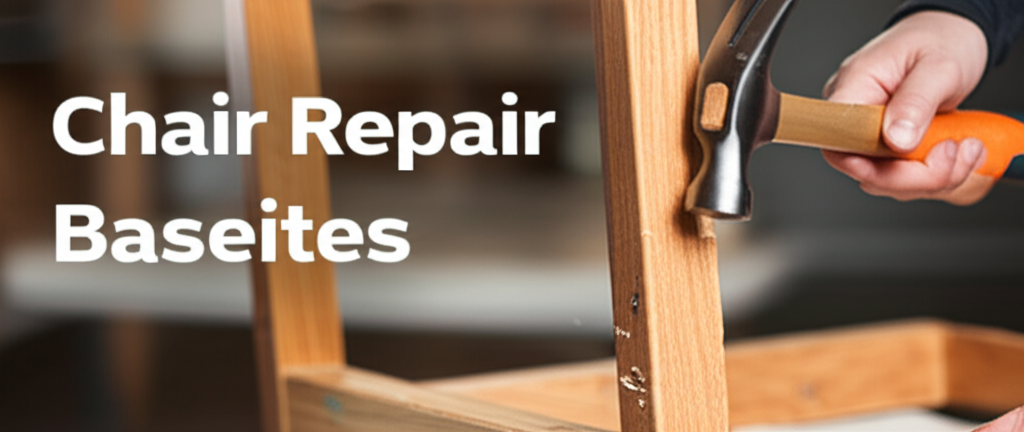
Introduction: Why Your Wooden Chair Needs a Hammer
Wooden chairs, beloved for their warmth, durability, and aesthetic appeal, are susceptible to wear and tear. Over time, joints loosen, dowels dislodge, and small cracks can appear, threatening the structural integrity and comfort of your favorite seating. While specialized woodworking tools exist, the humble hammer often proves to be an indispensable ally for many common wooden chair repairs. Far from being just a tool for driving nails, a hammer, when used with care and knowledge, can effectively tighten joints, set dowels, and even perform minor cosmetic fixes. This guide will delve into the practical applications of using a hammer for wooden chair repair, covering essential techniques, safety precautions, and when to seek professional help. Understanding the nuances of hammer-based repairs can empower you to breathe new life into your cherished wooden furniture, saving you money and preserving your pieces for years to come.
Must-Have Tools in Your House If You Work Regularly


Understanding Your Hammer: The Right Tool for the Job
Not all hammers are created equal, and selecting the appropriate hammer is crucial for successful wooden chair repair. Using the wrong type can cause more damage than good.
Claw Hammers: The All-Rounder
The most common type of hammer, the claw hammer, features a metal head with a flat striking face on one side and a V-shaped claw on the other. The flat face is used for driving nails, while the claw is designed for extracting them. For wooden chair repairs, the flat face is your primary tool.
Ball-Peen Hammers: For Metalwork, Not Wood (Generally)
Ball-peen hammers have a rounded end (peen) opposite the flat face. While excellent for shaping metal and driving rivets, they are generally not suitable for most wooden chair repairs as the rounded end can easily mar or dent the wood.
Mallets: The Gentle Touch
While technically not a hammer in the traditional sense, mallets are essential for woodworking and chair repair. They typically have heads made of rubber, plastic, wood, or rawhide. Mallets are designed to strike with less force than metal-headed hammers, minimizing the risk of damaging delicate wood surfaces. They are ideal for gently tapping joints back into place or setting dowels without causing dents or cracks.
Specialty Hammers: When Precision is Key
For very fine or delicate repairs, smaller hammers like tack hammers or jeweler’s hammers might be considered. These offer greater control and are useful for small nails or precise tapping.
Table 1: Hammer Types and Their Suitability for Wooden Chair Repair
| Hammer Type | Primary Use in Chair Repair | Considerations |
| :————— | :—————————————————————- | :——————————————————————————— |
| Claw Hammer | Driving small nails, tapping loose joints, setting dowels (with protection) | Use with caution to avoid denting; a wooden block can protect the surface. |
| Soft-Faced Mallet| Gentle tapping of joints, setting dowels, seating components | Ideal for preserving the wood surface; various materials offer different hardness. |
| Rubber Mallet | Similar to soft-faced mallet, offers a bit more force | Less likely to mar wood than a metal hammer. |
| Wooden Mallet | Driving chisels, assembly requiring significant but controlled force | Can still mark softer woods if not used carefully. |
| Tack Hammer | Driving small brads or finishing nails in delicate areas | Offers excellent control for precise placement. |
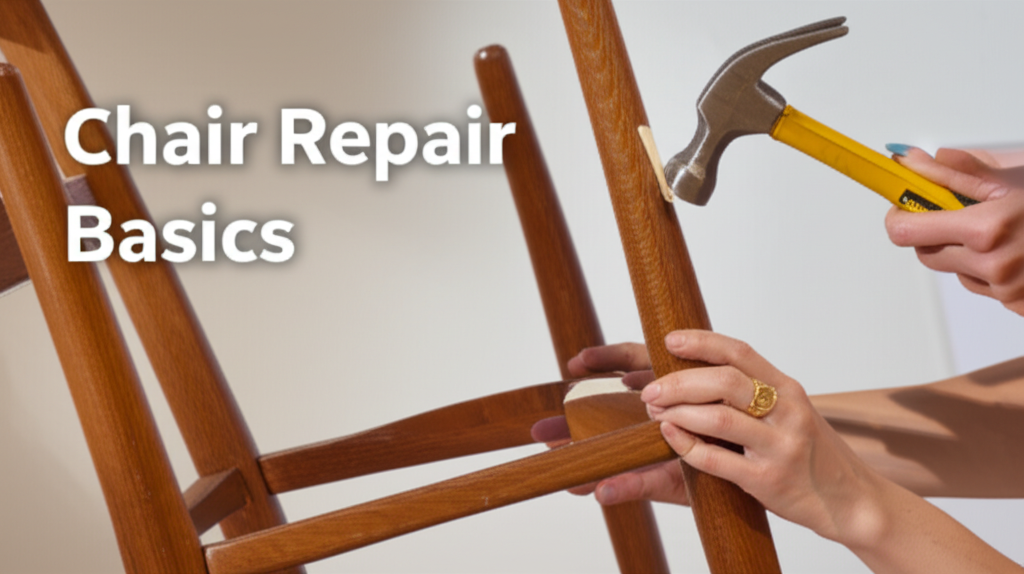
Essential Hammering Techniques for Chair Repair
The effectiveness of your hammer lies not just in the tool itself, but in how you wield it.
Grip and Stance
A firm, comfortable grip is paramount. Hold the hammer towards the end of the handle for maximum leverage and control. Maintain a balanced stance, with your feet shoulder-width apart, to ensure stability and prevent strain.
Striking the Surface
When striking wood, aim for a direct, perpendicular blow. This distributes the force evenly and reduces the likelihood of glancing blows that can goude or damage the surface.
Using a Backup (Protection)
This is arguably the most important technique when using a metal-headed hammer on wood. Always place a block of scrap wood between the hammer face and the chair component you are working on. This sacrificial block absorbs the impact, protecting the chair’s finish and preventing unsightly dents. The type of wood for your backup should ideally be similar in hardness to the chair you are repairing.
Controlled Tapping vs. Forceful Blows
For most chair repairs, controlled tapping is preferred over forceful blows. Start with gentle taps and gradually increase the force only if necessary. Over-striking can lead to splitting, cracking, or pushing components too far.
Driving Nails and Dowels
- Nails: When driving nails, particularly small finishing nails or brads, start by holding the nail in place with pliers or your fingers (carefully!). Give it a gentle tap to set it, then remove your fingers and continue tapping until the nail is flush with the wood. Avoid hammering the nail head completely below the surface unless the design calls for it.
- Dowels: For loose dowels, apply wood glue to the dowel and the hole. Then, use a rubber or wooden mallet to gently tap the dowel back into place, ensuring it is flush or slightly proud as per the original fit. If a dowel needs to be driven into a new hole, use a mallet, again with a block of wood as protection if a metal hammer is being used for a final tap.
Common Wooden Chair Repairs Where a Hammer is Useful
Several common issues with wooden chairs can be effectively addressed with the judicious use of a hammer.
Tightening Loose Joints
Loose joints are a frequent culprit behind wobbly chairs.
- Identifying the Looseness: Gently rock the chair and identify which joints are giving way.
- Applying Glue: Disassemble the joint if possible. Apply a good quality wood glue to both surfaces.
- Reassembly and Tapping: Reassemble the joint. If it’s a mortise and tenon joint or a dowel joint, you may need to gently tap it fully into place. Use a rubber mallet or a claw hammer with a protective wooden block. Tap along the mating surfaces to ensure a snug fit.
- Clamping: After tapping, clamp the joint securely while the glue dries.
Setting Loose Dowels
Dowels are often used to reinforce joints. If they become loose, the joint weakens.
- Assessing the Dowel: If a dowel is protruding, it likely needs to be re-seated.
- Glue Application: Apply wood glue into the dowel hole and around the dowel itself.
- Tapping into Place: Use a mallet or a protected hammer to gently tap the dowel until it is flush with the surface, or slightly proud if it was originally designed that way. Ensure you are tapping the dowel itself, not the surrounding wood.
Securing Loose Veneer
While more delicate, a hammer can sometimes assist with loose veneer.
- Preparation: Carefully lift the loose veneer.
- Glue and Press: Apply wood glue underneath the veneer. Place a piece of wax paper over the glued area, followed by a block of wood.
- Gentle Tapping: Use a rubber mallet or a very lightly tapped protected claw hammer to gently press the veneer down, ensuring it adheres to the block of wood without pressing through to the chair itself. The aim is to seat the veneer firmly, not to drive it.
- Clamping: Clamp the veneer securely until the glue dries.
Repairing Minor Cracks
For very fine, hairline cracks that haven’t compromised the structural integrity, a hammer can be used to help reseat the wood.
- Glue Application: Carefully inject wood glue into the crack.
- Seating the Wood: Use a block of wood and a mallet (or protected hammer) to gently tap the surrounding wood, encouraging the crack to close. The goal is to persuade the wood fibers to reconnect.
- Clamping: Clamp the area firmly until the glue cures.
Table 2: Pros and Cons of Hammer-Based Chair Repairs
| Pros | Cons |
| :—————————————————— | :——————————————————————- |
| Accessible and common tool | High risk of damage if not used correctly (denting, splitting) |
| Effective for tightening joints and seating dowels | Limited applicability for complex repairs or delicate finishes |
| Cost-effective for simple repairs | Requires precision and control, which can take practice |
| Can be used for minor cosmetic adjustments | May not be sufficient for structurally compromised chairs |
| Versatile for various small tasks in woodworking | Can be challenging to achieve professional-level results without experience |
Steps for Repairing a Loose Chair Leg with a Hammer
A wobbly chair leg is a common problem that often involves a loose joint. Here’s a step-by-step guide:
Step 1: Identify the Loose Joint
Turn the chair upside down and gently try to wobble each leg. Determine which joint is the source of the instability. This is often where the leg meets the seat or a stretcher.
Step 2: Disassemble the Joint (If Possible)
If the joint is a mortise and tenon, or a dowel joint, and it’s not completely fused, you might be able to carefully separate it. Use a rubber mallet to gently tap the leg or the joint component apart. If it’s very stubborn, it might be better to proceed without full disassembly, focusing on injecting glue.
Step 3: Clean and Prepare
Remove any old glue or debris from the joint surfaces. This ensures a strong bond for the new glue. You can use a chisel or a stiff brush for cleaning.
Step 4: Apply Wood Glue
Generously apply high-quality wood glue to both surfaces of the joint – the tenon and the mortise, or the dowel and the hole.
Step 5: Reassemble the Joint
Carefully fit the parts back together.
Step 6: Use the Hammer for Seating
This is where the hammer comes in. Place a block of scrap wood over the joint where you need to apply pressure. Using a rubber mallet or a claw hammer with a protective block, deliver firm, controlled taps. The aim is to drive the tenon fully into the mortise or the dowel into its hole, ensuring a tight, snug fit. Tap on the areas where the wood pieces meet, not directly on delicate carvings or finishes.
Step 7: Clamp the Joint
Once the joint is snugly seated, use woodworking clamps to hold the parts together tightly while the glue dries. Ensure the clamps are applied without distorting the chair’s shape.
Step 8: Clean Excess Glue and Allow to Dry
Wipe away any excess glue that squeezes out with a damp cloth immediately. Allow the glue to dry completely according to the manufacturer’s instructions, usually 24 hours.
Step 9: Test the Stability
Once dry, remove the clamps and test the chair’s stability. If the joint is still slightly loose, repeat steps 4-8.
When to Call a Professional Woodworker
While a hammer can be a useful tool for many DIY chair repairs, there are instances where professional expertise is invaluable.
- Major Structural Damage: If the chair has significant cracks, missing pieces, or rot, it requires the skills of a professional.
- Antique or Valuable Chairs: Attempting repairs on valuable antique furniture without proper knowledge can devalue the piece. A professional restorer has the experience to preserve its integrity and value.
- Complex Joinery: If the chair features intricate joinery that you are unfamiliar with, or if disassembly proves too difficult, a professional can handle it.
- Upholstered Chairs: While a hammer might be used for minor frame adjustments, repairs involving upholstery often require specialized tools and techniques.
- Lack of Confidence or Tools: If you are not comfortable with the process or lack the necessary tools (beyond the hammer), it’s best to entrust the job to an expert.
Conclusion: The Hammer as a Valuable Repair Tool
The hammer, often perceived as a brute force instrument, is in fact a tool that, when used with knowledge, finesse, and the right precautions, can be incredibly effective in maintaining and repairing wooden chairs. From tightening wobbly joints to seating loose dowels, its versatility is undeniable. By understanding the different types of hammers, employing proper techniques such as using a protective block, and knowing when to enlist professional help, you can confidently tackle many common chair repairs. Preserving the longevity and beauty of your wooden furniture is a rewarding endeavor, and the humble hammer, in the right hands, is an excellent companion on that journey. Remember, patience and precision are key, and a little bit of knowledge can go a long way in keeping your chairs sturdy and comfortable for years to come.
html
<h2>Key Facts/Comparison: Hammer Use in Wooden Chair Repair</h2>
<table>
<thead>
<tr>
<th>Feature</th>
<th>Hammer Type</th>
<th>Typical Use</th>
<th>Considerations</th>
</tr>
</thead>
<tbody>
<tr>
<td>Head Weight</td>
<td>Lightweight (e.g., 8-12 oz)</td>
<td>Driving small nails, tacking upholstery, delicate tasks.</td>
<td>Less force, better control for fine work.</td>
</tr>
<tr>
<td>Head Weight</td>
<td>Medium Weight (e.g., 16-20 oz)</td>
<td>General woodworking, driving medium-sized nails, loosening stuck joints.</td>
<td>Good balance of force and control for common repairs.</td>
</tr>
<tr>
<td>Head Weight</td>
<td>Heavyweight (e.g., 24+ oz)</td>
<td>Demolition, driving large nails, splitting wood (rare for chair repair).</td>
<td>Significant force, requires caution to avoid damage.</td>
</tr>
<tr>
<td>Claw Functionality</td>
<td>Straight Claw</td>
<td>Prying out nails, leverage for separation.</td>
<td>Good for leverage, less likely to damage surrounding wood if used carefully.</td>
</tr>
<tr>
<td>Claw Functionality</td>
<td>Curved Claw</td>
<td>Prying out nails, can be used for rocking/leveraging.</td>
<td>More aggressive prying, can sometimes mar wood if not cautious.</td>
</tr>
<tr>
<td>Handle Material</td>
<td>Fiberglass/Composite</td>
<td>Shock absorption, durability.</td>
<td>Reduces vibration transferred to the user.</td>
</tr>
<tr>
<td>Handle Material</td>
<td>Wood (Hickory, Ash)</td>
<td>Traditional feel, shock absorption (depending on quality).</td>
<td>Can split or break under extreme stress; natural feel.</td>
</tr>
</tbody>
</table>
<h2>Steps, Pros, and Cons of Hammer Use in Wooden Chair Repair</h2>
<h3>Step-by-Step Guide & Evaluation</h3>
<table>
<thead>
<tr>
<th>Step</th>
<th>Description</th>
<th>Hammer Aspect Involved</th>
<th>Pros of this Step</th>
<th>Cons of this Step</th>
</tr>
</thead>
<tbody>
<tr>
<td>1</td>
<td>Assess the Damage & Gather Supplies</td>
<td>N/A (Planning)</td>
<td>Ensures you have the right tools and materials.</td>
<td>Takes time upfront.</td>
</tr>
<tr>
<td>2</td>
<td>Prepare the Area</td>
<td>N/A (Preparation)</td>
<td>Protects the surrounding chair and workspace.</td>
<td>Requires additional materials like drop cloths.</td>
</tr>
<tr>
<td>3</td>
<td>Disassemble (if necessary)</td>
<td>Claw Hammer</td>
<td>Allows access to internal joints or damaged areas.</td>
<td>Can be time-consuming; requires careful prying to avoid damage.</td>
</tr>
<tr>
<td>4</td>
<td>Seat/Reinforce Joints</td>
<td>Hammer (light to medium)</td>
<td>Drives dowels or wedges securely into joints.</td>
<td>Over-hammering can split wood or break dowels.</td>
</tr>
<tr>
<td>5</td>
<td>Attach New Components/Bracing</td>
<td>Hammer (medium)</td>
<td>Secures new pieces with nails or brads.</td>
<td>Nails can bend; improper angle can split wood.</td>
</tr>
<tr>
<td>6</td>
<td>Re-attach Upholstery/Decorative Elements</td>
<td>Tack Hammer or light hammer</td>
<td>Drives upholstery tacks without damaging fabric.</td>
<td>Requires precision to avoid hitting fingers or missing tacks.</td>
</tr>
<tr>
<td>7</td>
<td>Final Inspection & Cleanup</td>
<td>N/A (Finishing)</td>
<td>Ensures a solid repair and a clean workspace.</td>
<td>Requires attention to detail.</td>
</tr>
</tbody>
</table>